How to Get That Clean Girl Slick Back Bun in 5 Minutes

Okay, I’m going to be honest here: I see slick back buns on Instagram constantly, and every time I try one, I look like I dunked my head in olive oil and then got into a fight with a hair elastic.
The gel clumps, there are bumps everywhere, and half my hair escapes within twenty minutes.
I’ve tried following those five-second tutorials (spoiler: they’re lies), bought different gels, and still end up looking like I’m having a hair emergency instead of channeling that effortless chic thing everyone else seems to nail.
But I figured it out, and I’m going to walk you through exactly how to make this work in real life — not just for the three seconds it takes to snap a photo.
What Is a Slick Back Bun?
It’s basically what it sounds like: you pull all your hair straight back, smooth it down with product, and twist it into a bun. The whole point is that sleek, no-flyaways look where everything stays exactly where you put it.
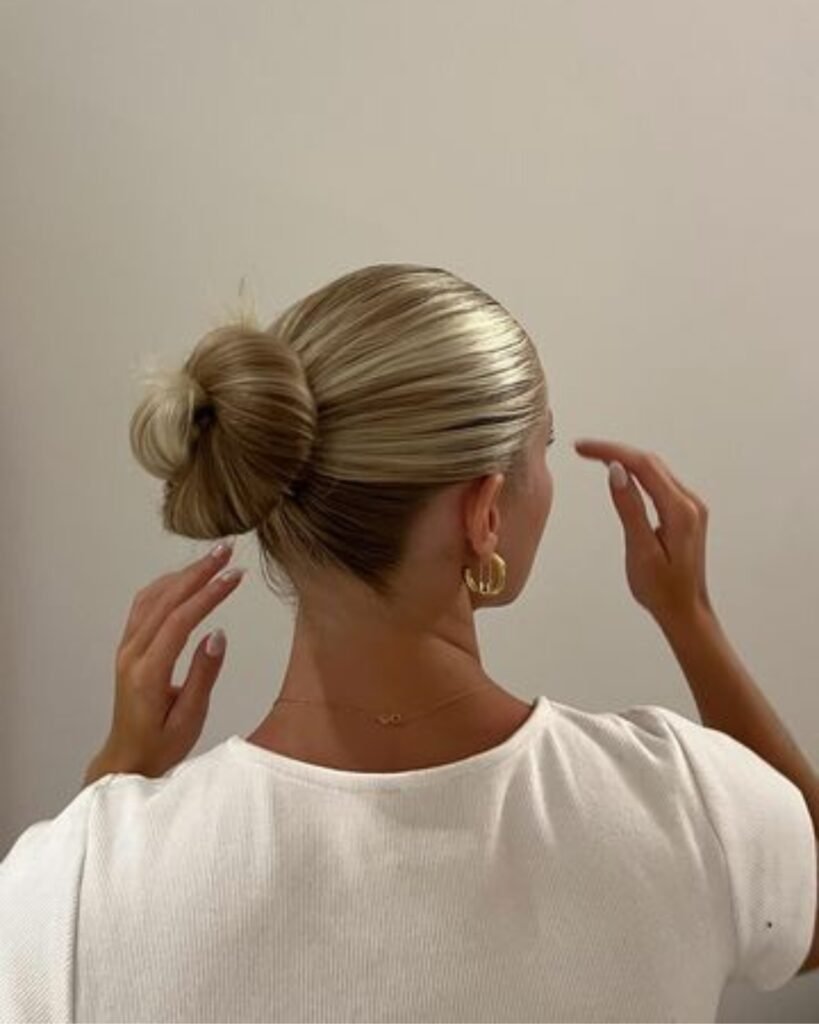
When it works, it looks expensive and put-together. When it doesn’t work, you look like you’re having a personal crisis.
The good news is it’s actually pretty versatile — I’ve worn this to Maya’s school events, date nights, and that time I had exactly four minutes to get ready before we left for Daniel’s work party.
Related: How to Do a Messy Bun
What You Actually Need (No Fancy Stuff)
Here’s where most tutorials get annoying — they assume you have a drawer full of professional styling tools. You don’t need that.
I use a brush I bought at CVS three years ago, hair ties from a pack of fifty that live in my car console, and whatever gel doesn’t make my hair crunchy.
Here’s what actually matters:
- A brush with bristles that don’t bend when you use them
- Hair ties that won’t snap (learned this the hard way)
- Gel or one of those wax sticks (I use both depending on my mood)
- A small brush for baby hairs — or honestly, a clean toothbrush works fine
- Bobby pins (the good kind that actually grip)
- Hairspray if you’re feeling extra
That’s it. No $40 brushes, no special serums. Just stuff that works.
Save this article for later! 👇👇
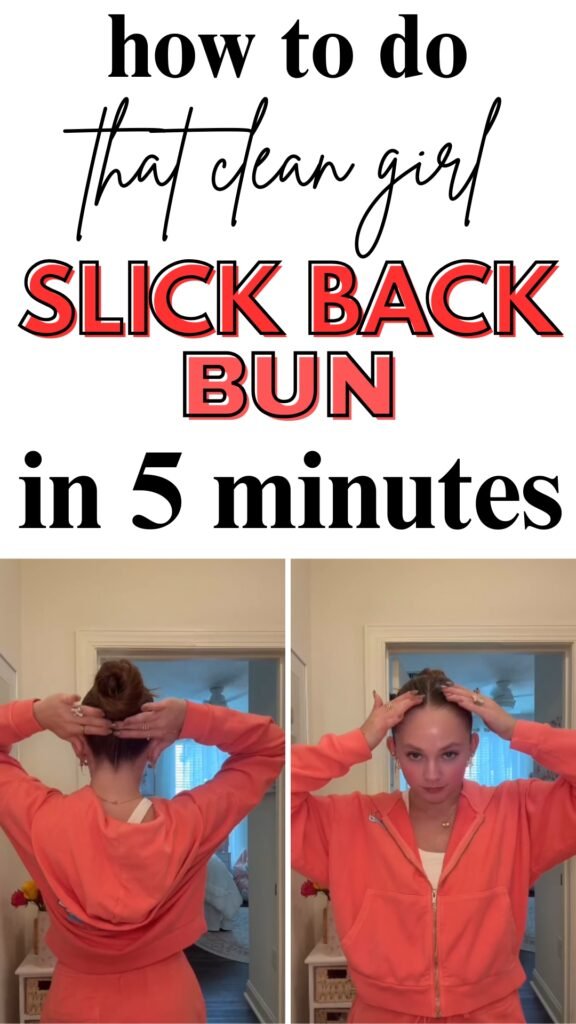
How to Actually Do It (Step by Step)
Step 1: Day-old hair is your friend
Fresh-washed hair is too slippery and soft for this style. Hair that’s been washed yesterday has just enough texture to hold the product and stay put. If your hair feels dry or frizzy, mist it lightly with water first.
Step 2: Brush it back in sections
Don’t try to brush all your hair at once — that’s how you get those bumps that make you look like you’re wearing a helmet. Work in sections: sides first, then the back, checking for bumps as you go.
I literally run my hand over my head to feel for any weird spots because you can’t always see them in the mirror.
Step 3: Add product (but not too much)
This is where I used to mess up every single time. You think more product = better hold, but really more product = looking like you haven’t washed your hair in a week.
Start with way less than you think you need. Work it through with your hands first, then brush it back again to distribute evenly.
Step 4: Make the tightest ponytail of your life
Seriously. If it’s not tight enough to give you a slight headache for the first ten minutes, it’s not tight enough. A loose ponytail means your bun will start sliding down your head by lunchtime.
Step 5: Twist and tuck
Twist your ponytail from base to ends — this keeps everything neat and gives the bun some structure. Then wrap it around the base and tuck the ends under. It doesn’t have to look perfect at this point.
Step 6: Bobby pin like your life depends on it
Use way more bobby pins than you think you need, and stick them in from different angles. I learned this from watching Maya try to pin her dance recital bun — if a five-year-old can figure out that more pins = better hold, so can we.
Save this post for later ❤️
Step 7: Deal with the baby hairs
Those little flyaway hairs around your forehead and neck will ruin the whole look if you ignore them. Take that small brush (or toothbrush) with a tiny bit of gel and smooth them down. This step makes the difference between looking polished and looking like you got caught in a windstorm.
What to Do If Your Hair Hates You
Straight, slippery hair
Your hair probably slides out of everything and refuses to hold any style for longer than it takes to walk to your car. Use dry shampoo before you start — it gives your hair some grip so the product has something to stick to.
Skip the gel and use a wax stick instead. It’s less slippery and gives you a more matte finish that doesn’t scream “I used half a bottle of product.”
Fine or thin hair
Same issue as straight hair, basically — everything slides out and you’re left with a sad, flat situation by noon.
Texture spray is going to be your best friend here. Use it before you do anything else to give your hair some actual substance to work with.
And definitely don’t try this on freshly washed hair — you need at least a day of natural oils to make it work.
Thick, stubborn hair
You’re dealing with the opposite problem — too much hair that doesn’t want to cooperate. Work in smaller sections when you’re brushing it back, and don’t be shy about the product. Your hair can handle more gel than fine hair can.
Also, invest in really good hair ties. The cheap ones will snap under the pressure, and then you’re standing in your bathroom at 7 AM trying to fish a broken elastic out of your hair.
Curly or textured hair
Start with damp hair and use a leave-in conditioner first to control frizz. You’re going to need a stronger hold gel — don’t mess around with the lightweight stuff.
Edge control is worth buying for this. It’s specifically designed to smooth down textured hair and actually stay put.
My friend Priya swears by wrapping a silk scarf around the finished style for ten minutes to set everything in place, and honestly, it works.
Short hair
You might not have enough length for a full bun, but you can still do a sleek low bun or even just a slicked-back look without the bun part.
Use more product than you think you need, and bobby pin everything that even thinks about moving.
Related: How to Do a Slick Back Ponytail
What I Wish Someone Had Told Me
The biggest mistake I made for months was using way too much gel. I thought more product meant better hold, but really it just made my hair look wet and heavy.
Start with barely any product and build up if you need to.
Also, don’t brush all your hair at once — work in sections or you’ll end up with weird bumps that you can’t see until you’re already out the door.
And those baby hairs around your hairline? They will absolutely ruin the whole look if you don’t deal with them. I keep a clean mascara wand in my makeup bag just for smoothing down flyaways because it works better than anything else I’ve tried.
The hair tie needs to be tighter than feels natural. If you can comfortably wear it all day without any pulling sensation, it’s too loose and your bun will start sagging. Better to have ten minutes of “this is tight” than four hours of “why does my hair look terrible.”