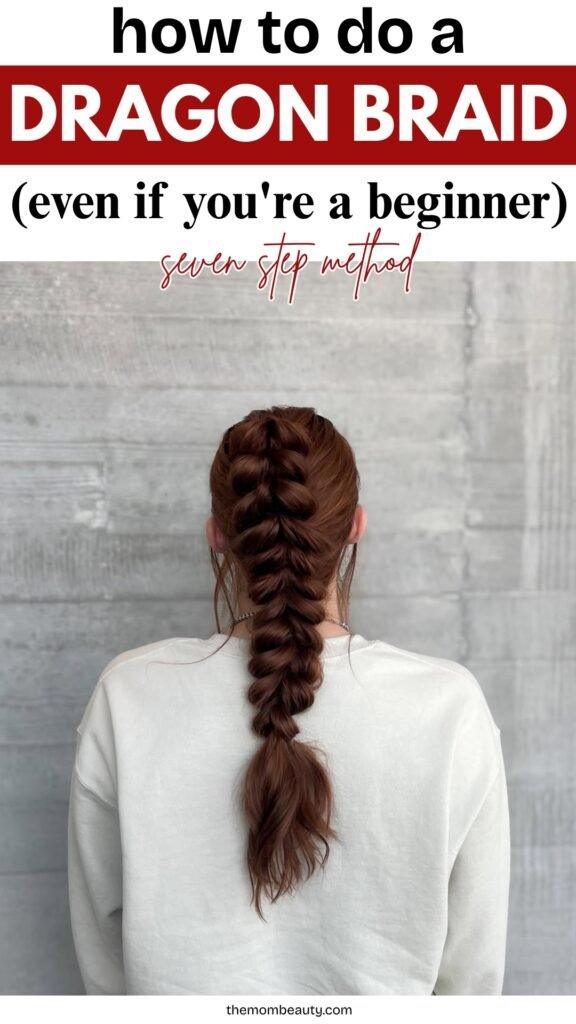
How to Do a Dragon Braid (Even If You’re a Beginner)

I’ve attempted dragon braids approximately seven times, and every single attempt has looked like I stuck my finger in an electrical socket and then tried to fix it with bobby pins.
Here’s what I wish someone had told me before I wasted three hours on YouTube tutorials that skip over the actual hard parts.
This is everything you actually need to know—the prep work they don’t mention, the grip techniques that matter, and why your braid keeps falling apart halfway through.
Let’s get into it.
What Is a Dragon Braid?
A dragon braid is that raised, textured braid that runs down the center of your head and actually looks intentional (when done right).
The sections create these scale-like loops that give it the dragon name, and honestly, when it works, it looks way more complicated than it actually is.
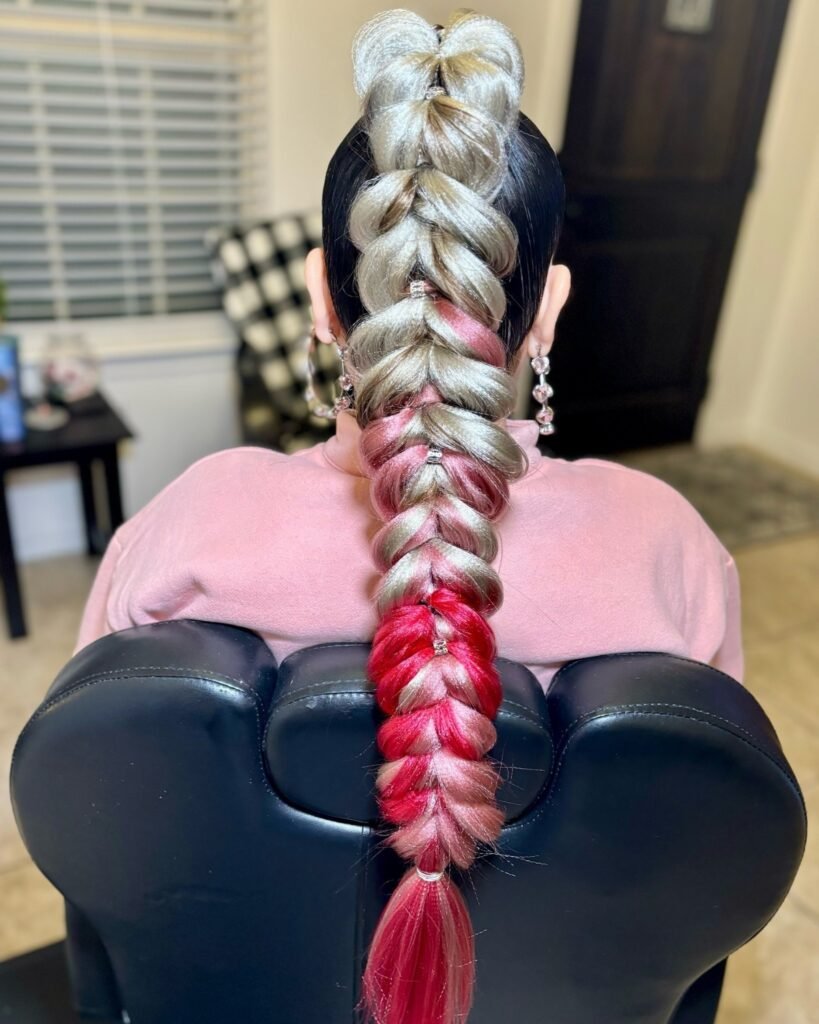
There are two main ways to do this: the pull-through method using small ponytails that loop through each other, and the Dutch braid method where you braid under instead of over.
The pull-through version is more forgiving if you’re just starting out, which is why we’re focusing on that one.
Related: How to Do a Slick Back Bun
Check If Your Hair Can Handle It
Hair Length
You need at least shoulder-length hair for this to work. Anything shorter and you’ll run out of material halfway down your head.
Hair Texture
Straight, wavy, curly—all of it works. The texture doesn’t matter as much as having enough grip to hold the sections in place.
Thick Hair
This is the easiest hair type for dragon braids. You’ve got natural grip and volume, so the braid will hold its shape without much help.
Thin or Fine Hair
Use dry shampoo before you start—and I mean really use it, not just a light spritz. Your hair needs something to grab onto.
Layered Hair
Go slow and keep your tension consistent. If pieces keep escaping, you might need a texturizing spray to give those shorter layers something to stick to.
Short Hair
Don’t attempt this unless you have clip-in extensions. I learned this the hard way when I spent forty minutes on what turned out to be a very sad, very short attempt.
Related: How to Do a Messy Bun
Tools and Products You’ll Need
I used to think any hair tie and a regular brush would work. That’s why my first attempts looked like modern art (and not the good kind).
The right tools aren’t optional—they’re the difference between a braid that photographs well and one that makes you question your life choices.
Here’s what you actually need:
- A brush with real grip (not one of those paddle brushes that slides over everything)
- Rat-tail comb for clean parts
- Small clear elastics—at least eight
- Hair clips to hold sections
- Dry shampoo or texturizing spray
- Strong-hold hairspray
- Bobby pins that match your hair color
Save this article for later! 👇👇
Save this post for later ❤️
Make the Dragon Braid, Step by Step
Step 1: Prep Your Hair
Start with completely dry hair that you’ve brushed until it’s smooth. If your hair was washed within the last 24 hours, spray dry shampoo through the mid-lengths and ends.
Day-two hair actually works better for this because it has more texture.
Step 2: Create Your First Section
Use your rat-tail comb to create a horizontal part about two inches above your hairline. Tie this top section with a clear elastic—not too tight, because you’ll need to pull hair through it later.
Clip the rest of your hair out of the way for now.
Step 3: Add the Second Section
Make another horizontal part about two inches below the first one. Gather this hair and tie it with another elastic, making sure it’s positioned directly under your first ponytail.
Step 4: Create the First Loop
Split your top ponytail in half and pull the second ponytail up through the middle of it. This creates the first “scale” of your dragon braid.
Gently tug at the sides of the loop to make it fuller—this is what gives the braid its dimensional look.
Step 5: Continue the Pattern
Add more hair from the sides to the two sections you just split, then tie them together below the second ponytail. Pull another section of hair up through this new loop.
Keep repeating this: split, pull through, add hair from sides, tie, and loop.
Step 6: Work Down to the Nape
Continue this pattern until you’ve incorporated all the hair from the sides of your head. Each section should be roughly the same size to keep the braid looking even.
Step 7: Finish the Ends
Once you run out of new hair to add, continue the pull-through pattern with just the remaining length. Secure the very end with a clear elastic and tuck it under the last loop if you want it hidden.
Related: How to Do a Slick Back Ponytail
When It Goes Wrong (And How to Fix It)
If your dragon braid looks flat instead of dimensional, you’re probably pulling the elastics too tight or not fluffing out the loops enough.
Slipping sections usually mean your hair is too clean or your elastics aren’t tight enough—there’s a balance you have to find through practice.
Flyaways everywhere? Run a clean mascara wand with a tiny bit of hairspray over the surface of the braid.
Crooked parts will make the whole thing look off, so take your time with the rat-tail comb. And if the end sections won’t stay tucked, just bobby pin them—nobody will see the pins if you place them right.
Sometimes you have to accept that your first attempt will be a learning experience, and that’s completely fine.
Final Notes
Set up everything you need before you start because once you’re halfway through, you don’t want to be hunting for another elastic with half your hair clipped up.
Practice the splitting and pulling motion a few times on regular ponytails before attempting the full braid—it’s a specific hand movement that takes getting used to.
Use a handheld mirror to check the back as you work because what feels right might not look right.
If this is attempt number one, plan for it to take longer than you think and don’t try it fifteen minutes before you need to leave the house.