Half Down Half Up Hairstyles Ideas We Keep Coming Back To
Honestly, I’ve been doing half-up, half-down hairstyles since Maya was old enough to sit still for five minutes (which wasn’t very long). There’s something about this style that just works — it keeps your hair out of your face but still lets you feel like you actually did something with it.
The thing is, it’s not as simple as just throwing half your hair up and calling it a day.
I’ve learned this the hard way through approximately seventeen school pickup attempts where I looked like I’d been through a wind tunnel.
So I rounded up 32 half-up styles that actually work for real life — from the “I have three minutes before soccer practice” versions to the “my sister’s getting married and I need to look like I know what I’m doing” ones.
Half Down Half Up Hairstyles Ideas
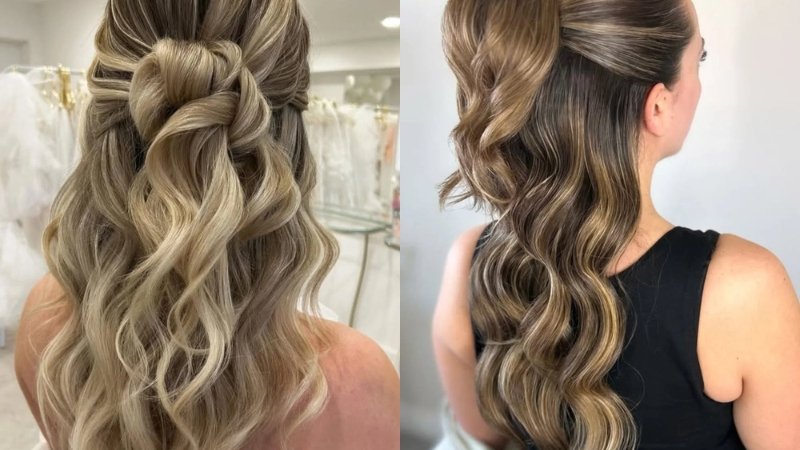
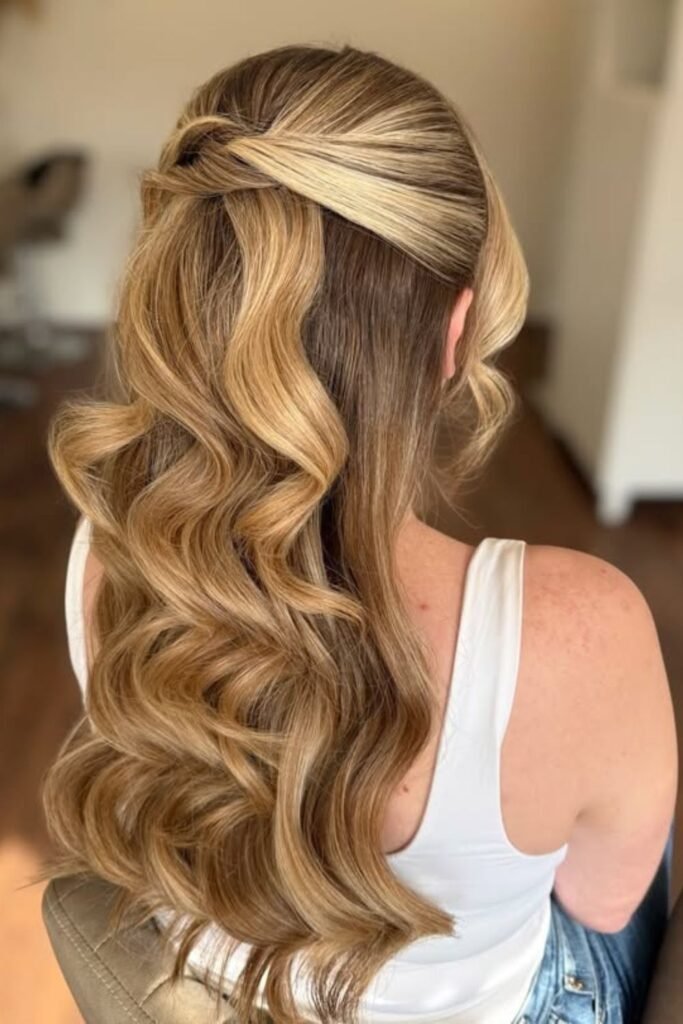
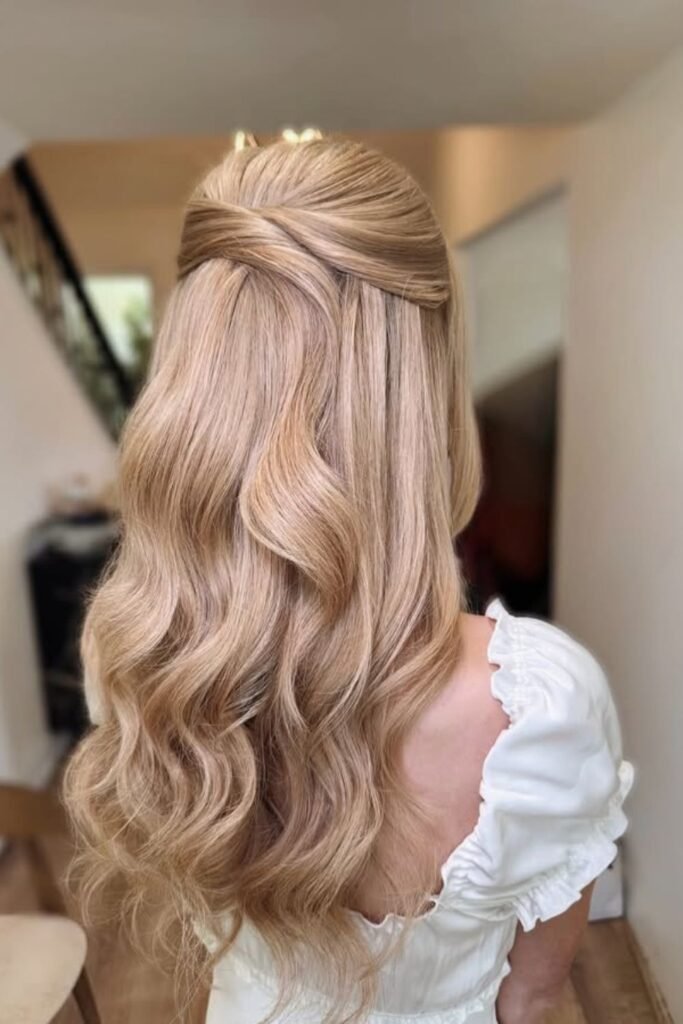
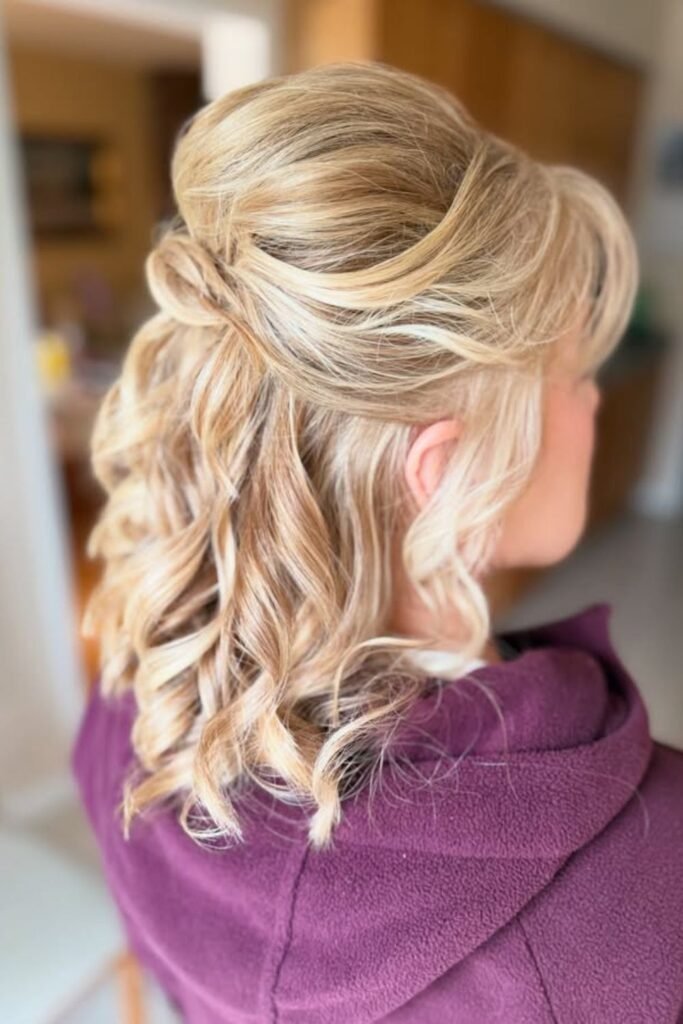
Twisted Bow
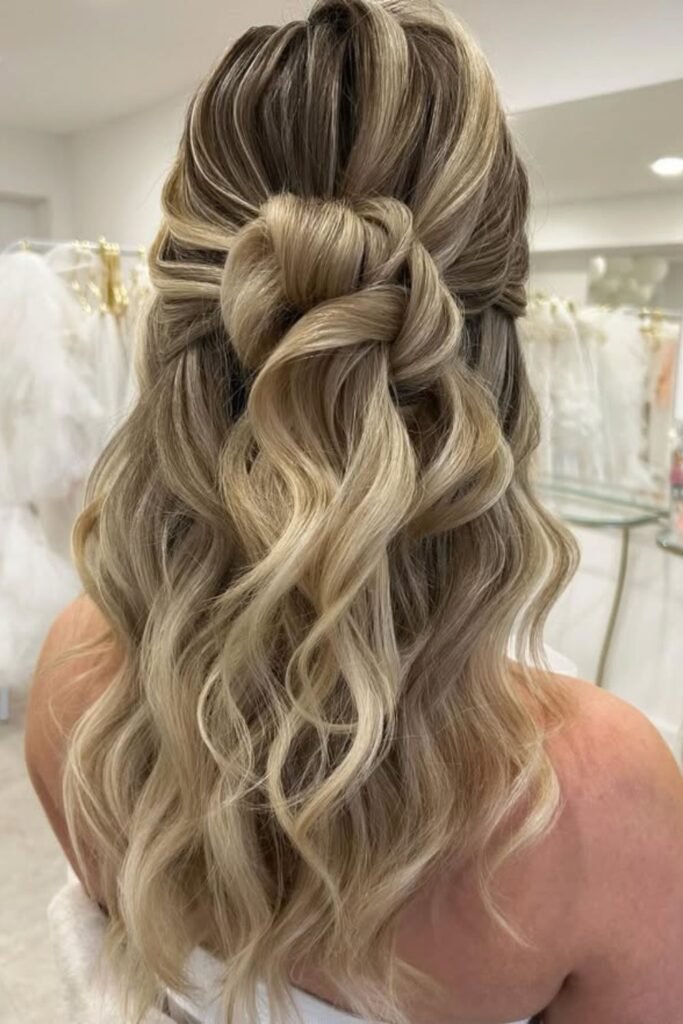
This is what happens when you want to look fancy but also practical.
The twisted bow sits right at your crown — you literally twist sections of hair and loop them through to create the bow shape. The rest of your hair gets loose waves (I use a 1.5-inch curling iron and then run my fingers through them so they don’t look too perfect).
It took me three tries to get this right, but now I can do it in about ten minutes. Perfect for when Daniel’s work friends come over for dinner and I need to look like I have my life together.
Sleek Volume
I’m not going to lie — this one requires actual effort and probably more smoothing serum than I typically use in a month.
You need to get your roots completely smooth (I use the Tresemmé Keratin Smooth serum, $6 at Target) and then create waves in the ponytail portion. The contrast between the sleek top and wavy bottom is what makes this work, but it’s also what makes it time-consuming.
Worth it for date nights when you want Daniel to remember why he married you.
Butterfly Touch
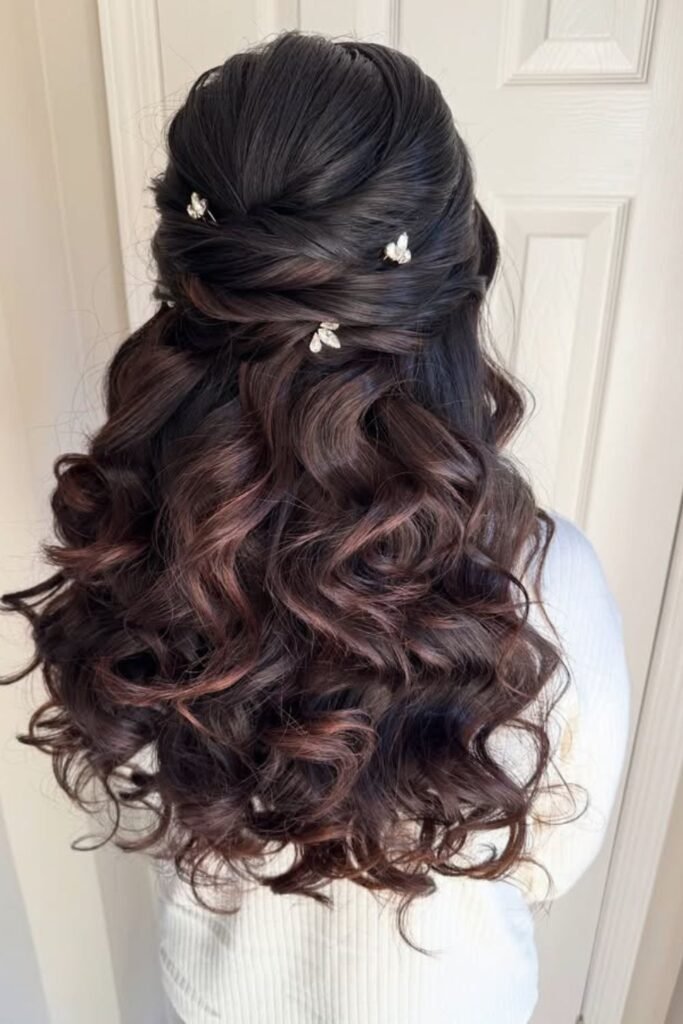
Maya saw this and immediately declared it “princess hair,” which tells you everything you need to know about the vibe here.
The butterfly clips are doing most of the heavy lifting — you twist up sections of hair and pin them with the clips. I found decent ones at Sally Beauty for like $8 (don’t get the ones from the dollar store; they’ll break in your hair and you’ll spend twenty minutes trying to fish out tiny plastic pieces).
This is surprisingly easy once you get the hang of where to place the twists. Good for outdoor weddings where you want to look romantic but not too precious.
Defined Ringlets
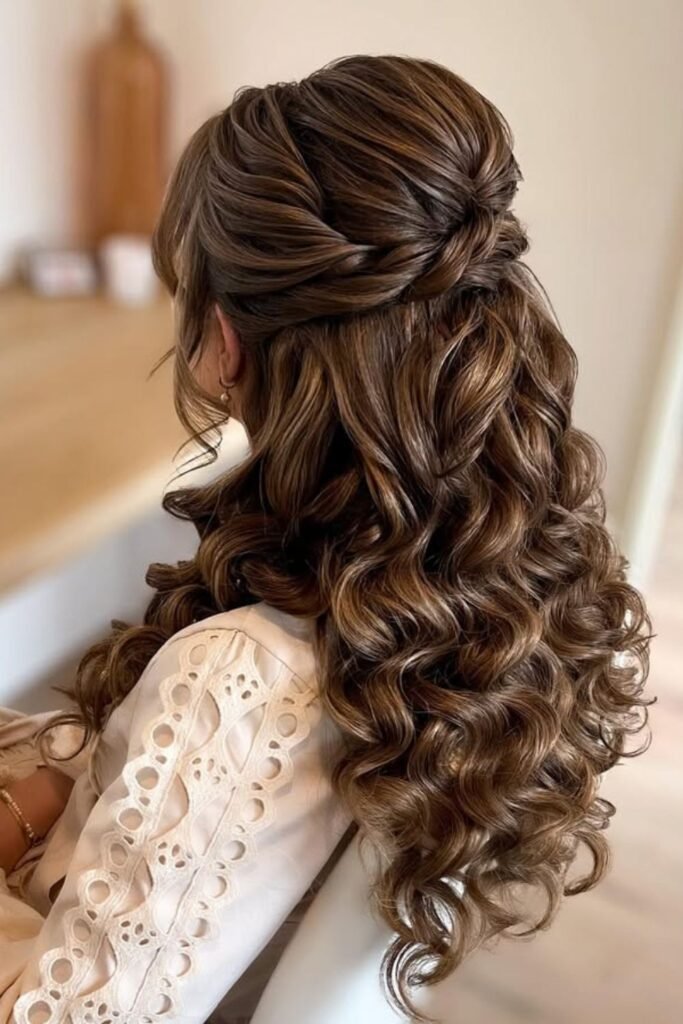
These ringlets are the kind of curls that take forever but look like you were born with them.
I use a small barrel curling iron (maybe 3/4 inch) and curl each section away from my face, then don’t touch them until they’re completely cool. The twist at the top is simple — just gather sections from each side, twist them back, and secure with bobby pins.
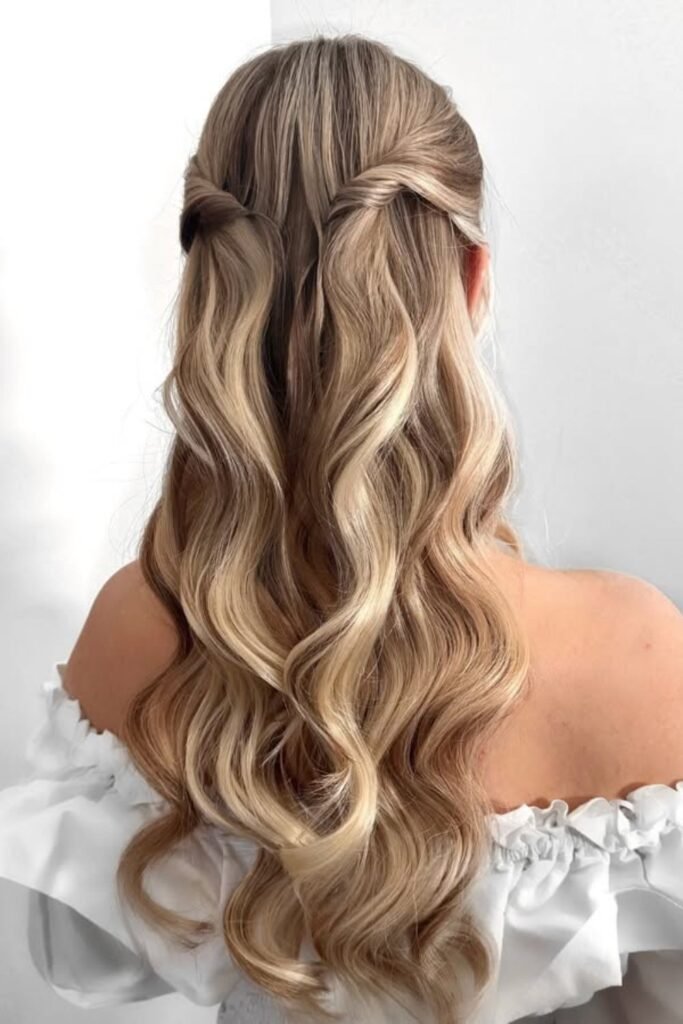
Soft Twist
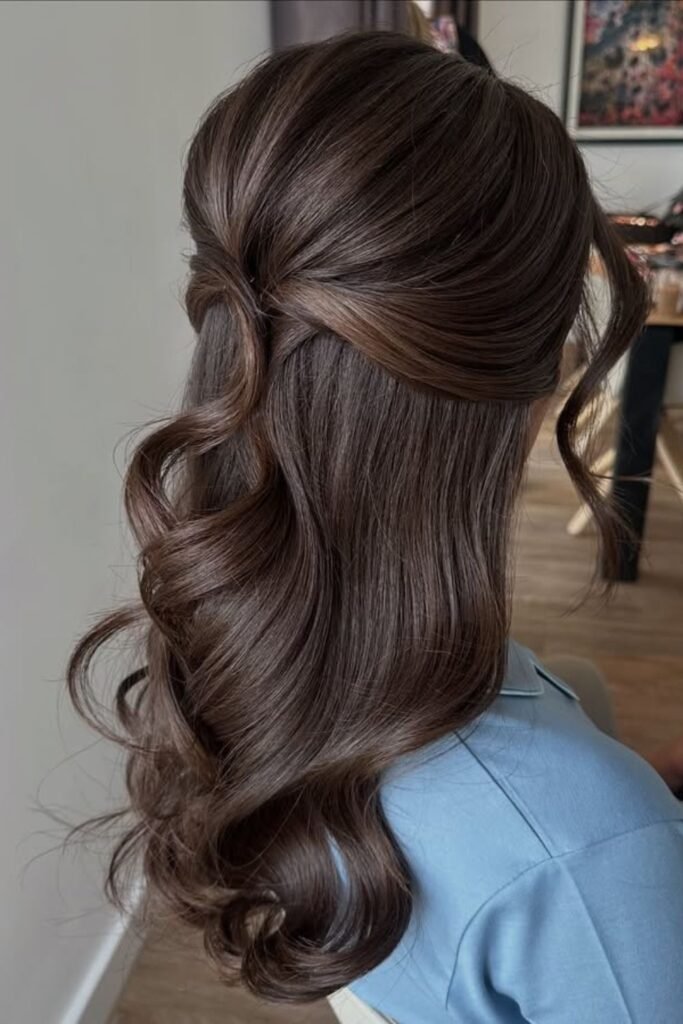
This is probably the most wearable style on this entire list.
You take a section of hair from one side, twist it back, and secure it behind your ear. That’s it. The curls below can be loose and imperfect — mine usually are because I’m typically doing this while Jake’s yelling about not being able to find his cleats.
I’ve worn this to parent-teacher conferences, dinner out, and approximately forty-seven soccer games. It works every time.
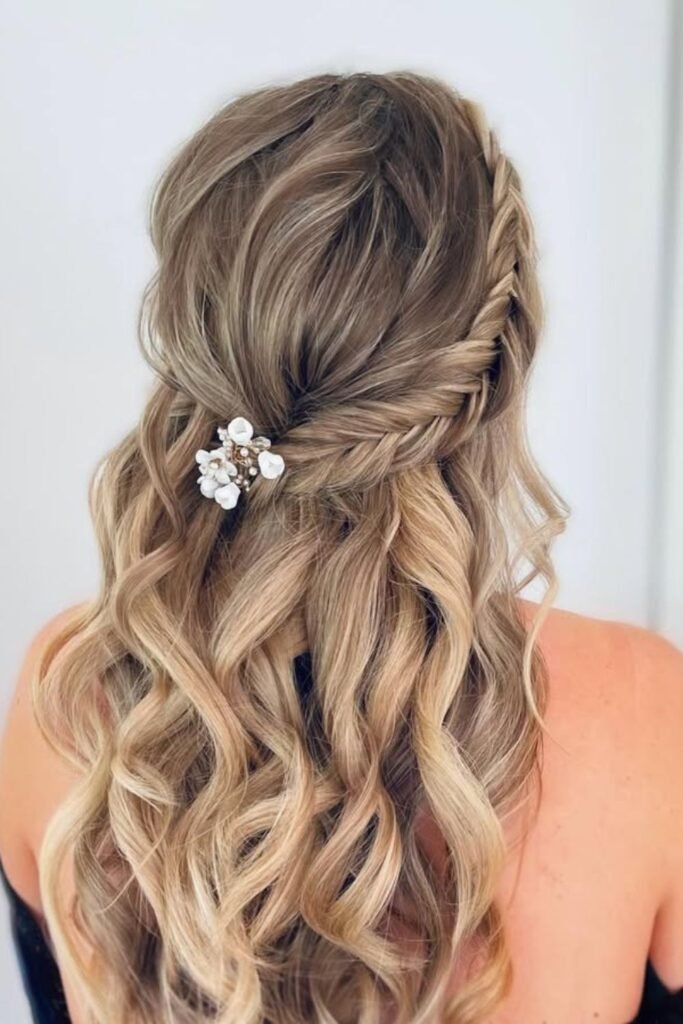
Pearl Detail
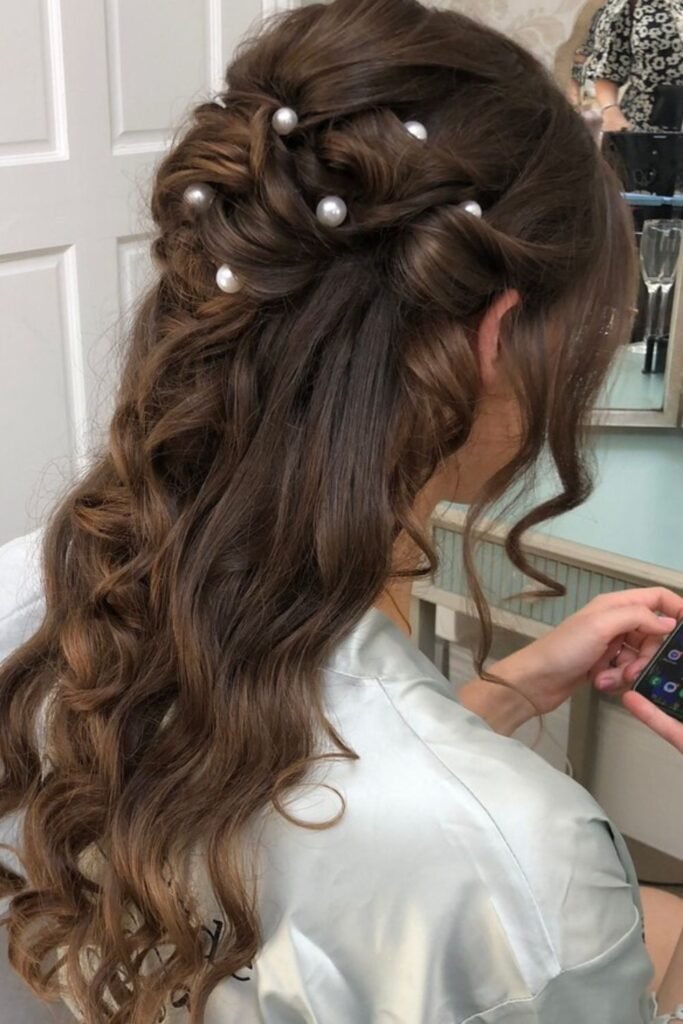
I ordered pearl bobby pins from Amazon after seeing this ($12 for a set of twenty) and they’ve been sitting in my bathroom drawer for three months because I keep forgetting I have them.
When I finally used them for my friend Sarah’s wedding, everyone asked where I got my hair done. The pearls make even basic twists look intentional and expensive.
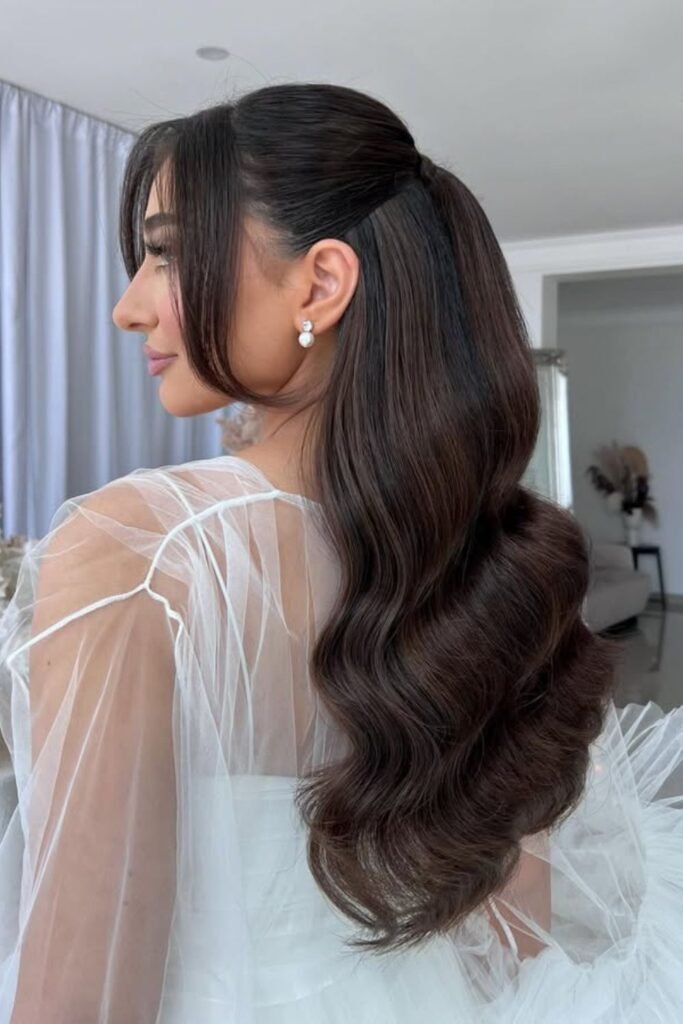
Sleek Twist
This looks like it requires professional help, but it’s actually just two side twists that meet in the back.
The key is making sure your hair is really smooth before you start twisting. I use heat protectant spray and then blow-dry with a round brush — takes forever but the results last all day.
The contrast between the light and dark sections in her hair makes this pop more than it would on my boring brown hair, but it still works.
Waterfall Braid
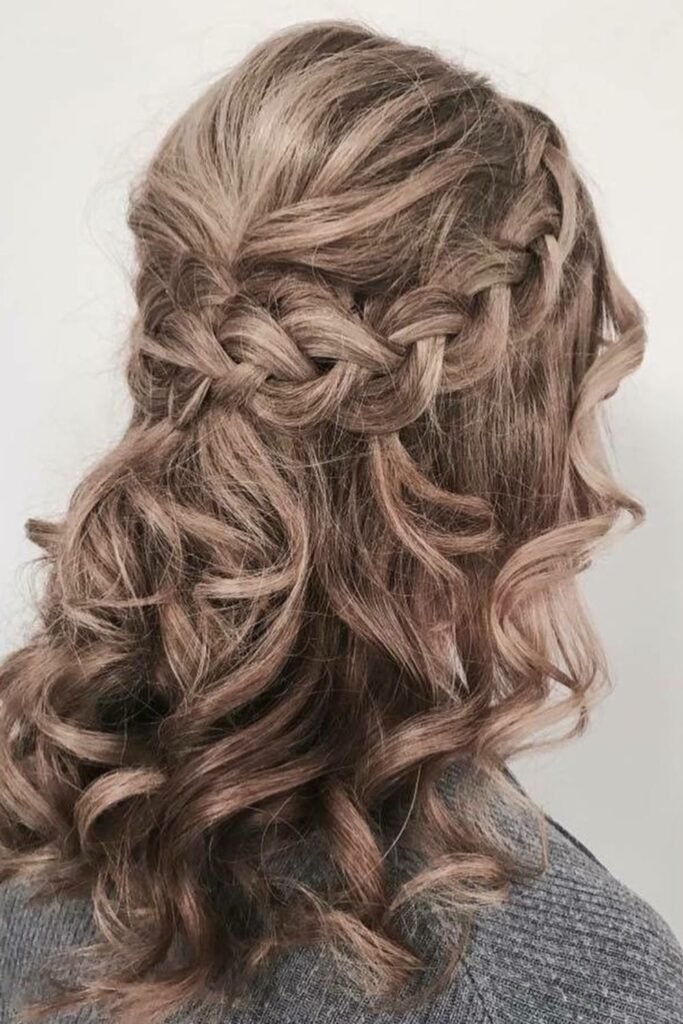
Waterfall braids are one of those things that look impossible but aren’t once someone shows you the trick.
You braid normally but keep dropping the bottom strand and picking up new pieces as you go around your head. I watched probably six YouTube videos before I figured it out, and even now it takes me fifteen minutes and my arms get tired halfway through.
But the effect is worth it — it’s like wearing a crown made of your own hair.
Leaf Accent

I love the idea of this but I know myself well enough to know that leaf clip would be lost within twenty-four hours.
The beachy waves are the real star here anyway — they’re the kind of loose, undone curls that look effortless but actually require sea salt spray and scrunching while your hair air-dries (which means starting the process about three hours before you need to leave the house).
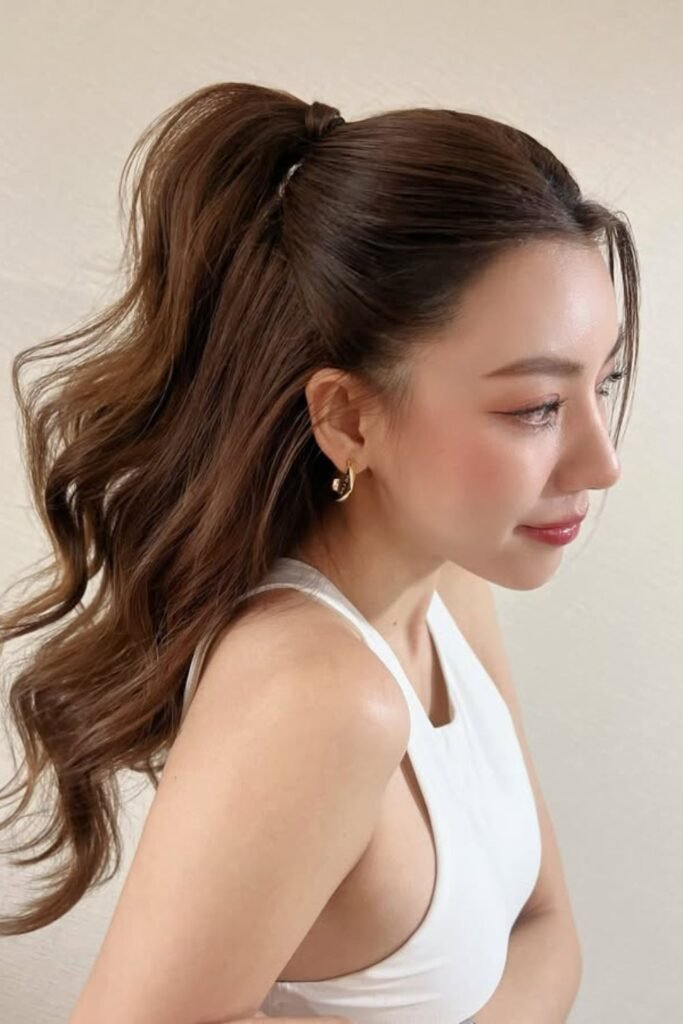
Sleek High Half
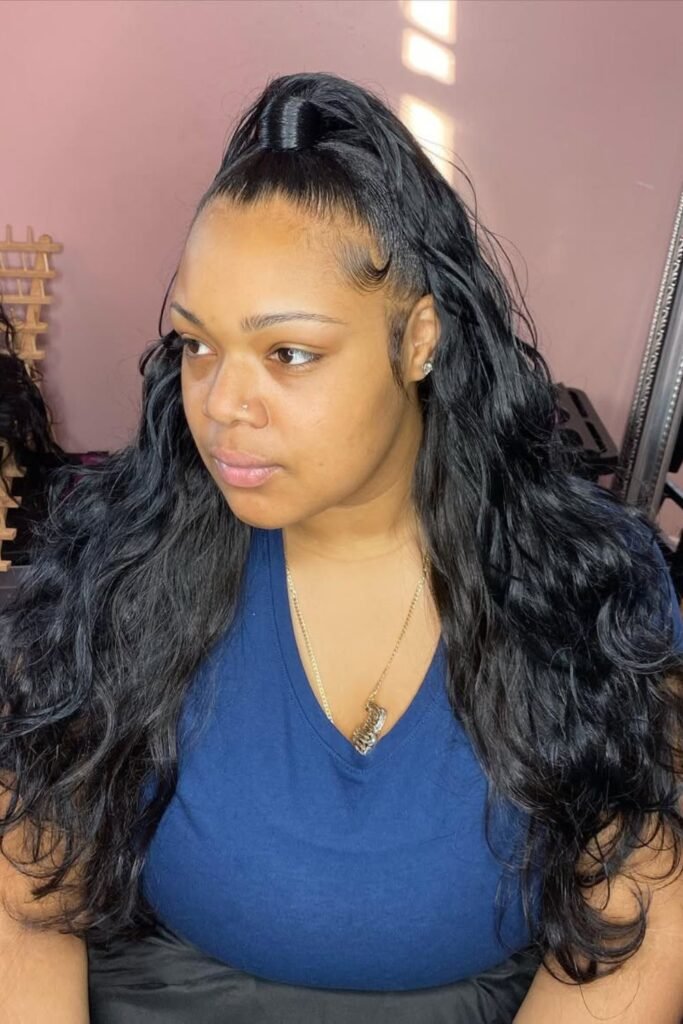
This is what I do when I need to look put-together in under five minutes.
Slick back the top section with gel (I use the LA Looks stuff from the drugstore), secure with an elastic, and let the rest of your hair do whatever it wants to do. The higher you place the ponytail, the more dramatic it looks.
Save this post for later ❤️
Maya calls this my “boss lady hair” and honestly, she’s not wrong.
Crown Braid
Crown braids are beautiful in theory and a complete disaster in practice (at least for me).
I can never get the braid to lay flat or look even on both sides. But if you’re better at braiding than I am — which isn’t a high bar — this creates such a romantic, fairy-tale effect.
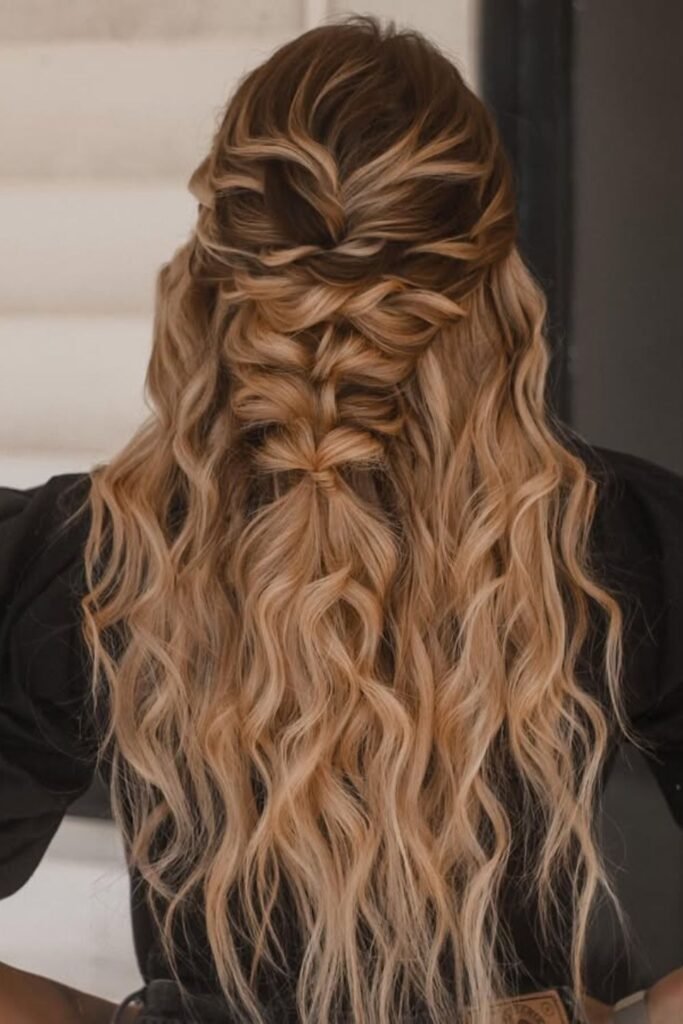
Floral Fishtail
Fishtail braids look so complicated but they’re actually easier than regular braids once you get the hang of them. You just split your hair into two sections and keep crossing small pieces from the outside of each section to the inside of the other.
The floral clip is doing a lot of work here, covering up where the two braids meet (which, let’s be honest, is usually where mine start looking messy anyway).
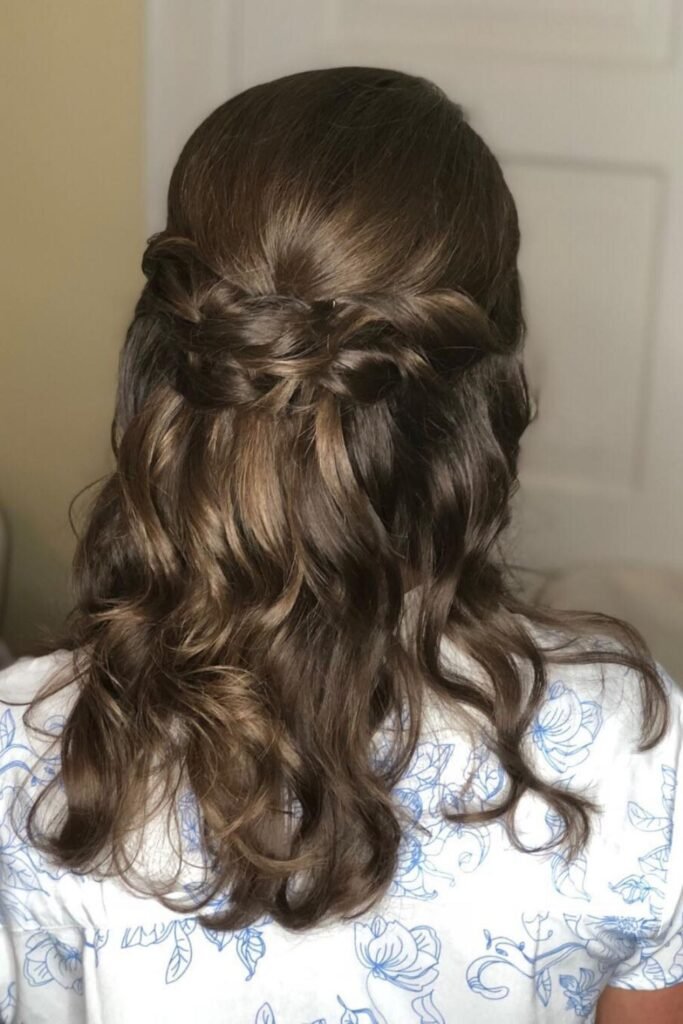
Boho Pull-Through
Pull-through braids are great because they look way more complicated than they are.
You make a series of ponytails down the back of your head, then pull each one through the space above the next ponytail and gently tug at the sides to make it look fuller. It’s like braiding for people who can’t actually braid (me).
The waves underneath need texture spray to look this good — I use the Ouai Wave Spray when I’m feeling fancy, or just scrunch in some mousse when I’m not.
Short Twist
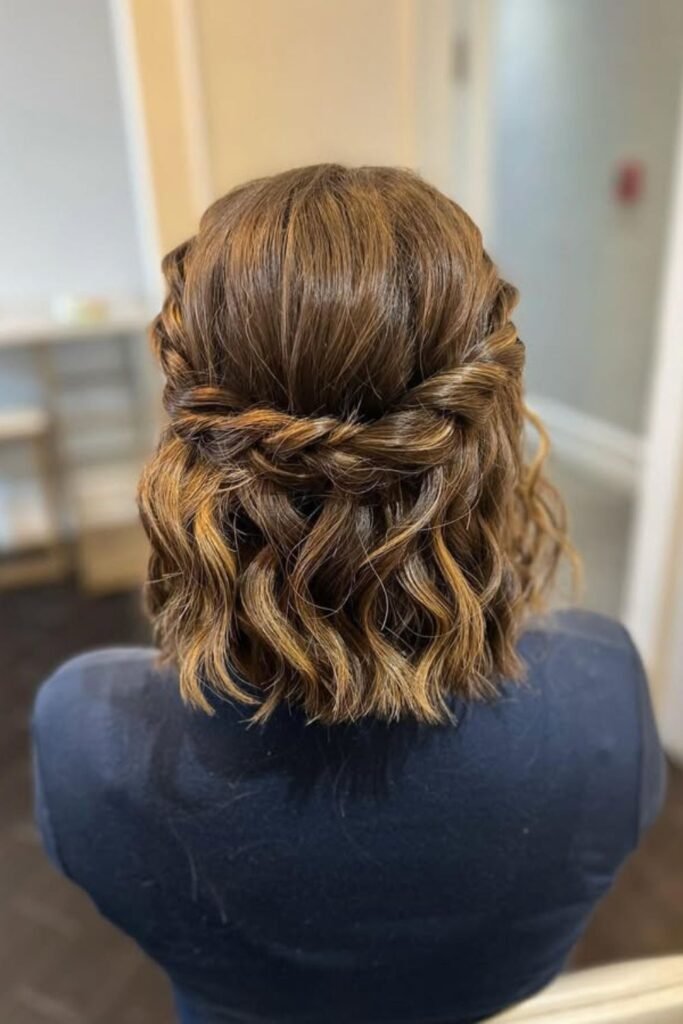
Finally, something for those of us who don’t have Disney princess hair that goes to our waist.
This works perfectly with shoulder-length hair — just twist back small sections from each side and pin them behind your ears. The key is not making the twists too tight or perfect.
Rose Bun
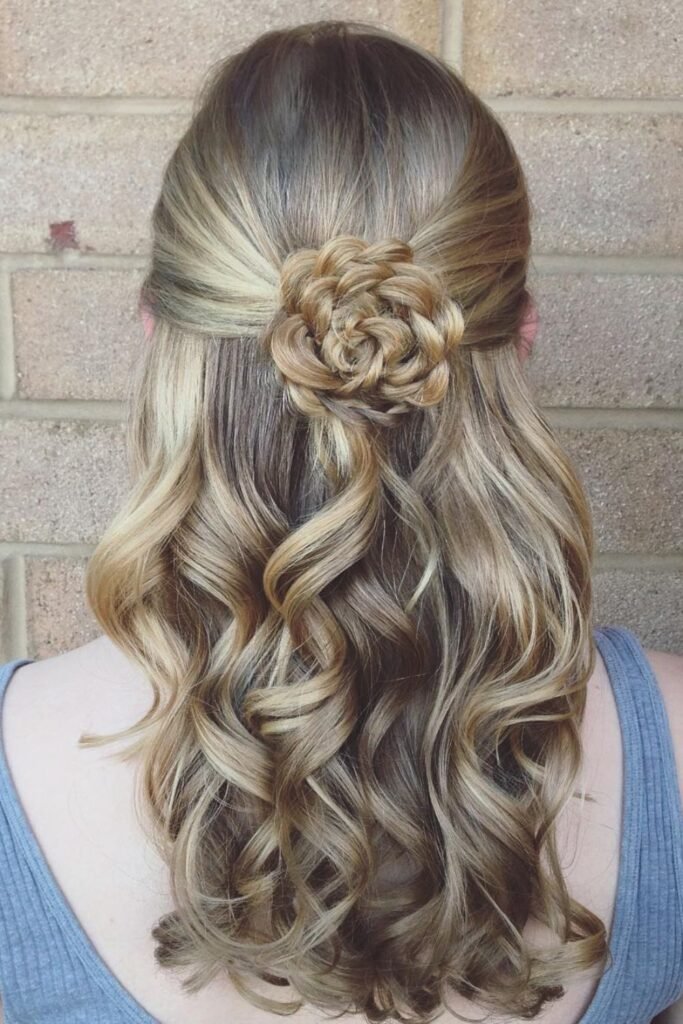
I tried to make one of these rose buns once for Maya’s dance recital and it looked like a sad, lopsided cinnamon roll.
Turns out you need to braid a section of hair, then coil it around itself and pin it in place. The trick is loosening the braid before you coil it so it looks more like petals and less like… well, a cinnamon roll.
Ribbon Half-Up

The satin ribbon makes this feel very old-Hollywood, but in a good way.
You just make a regular half-up ponytail and tie the ribbon over your elastic. I keep a few black ribbons in my hair stuff drawer because they instantly make any hairstyle look more intentional (even when it wasn’t).
Classic Twist
This is the kind of hairstyle my mom would have called “sensible” — polished enough for church but not so fancy that you feel overdressed at brunch.
The waves are perfectly uniform, which means either hot rollers or a lot of patience with a curling iron. I usually go with patience because I don’t own hot rollers (though I probably should).
Glossy Glam
The center part here is so sharp it could cut glass.
This is the kind of look that requires professional-level blow-drying skills and approximately half a bottle of shine serum. The waves are those perfect barrel curls that never look quite right when I try to do them at home.
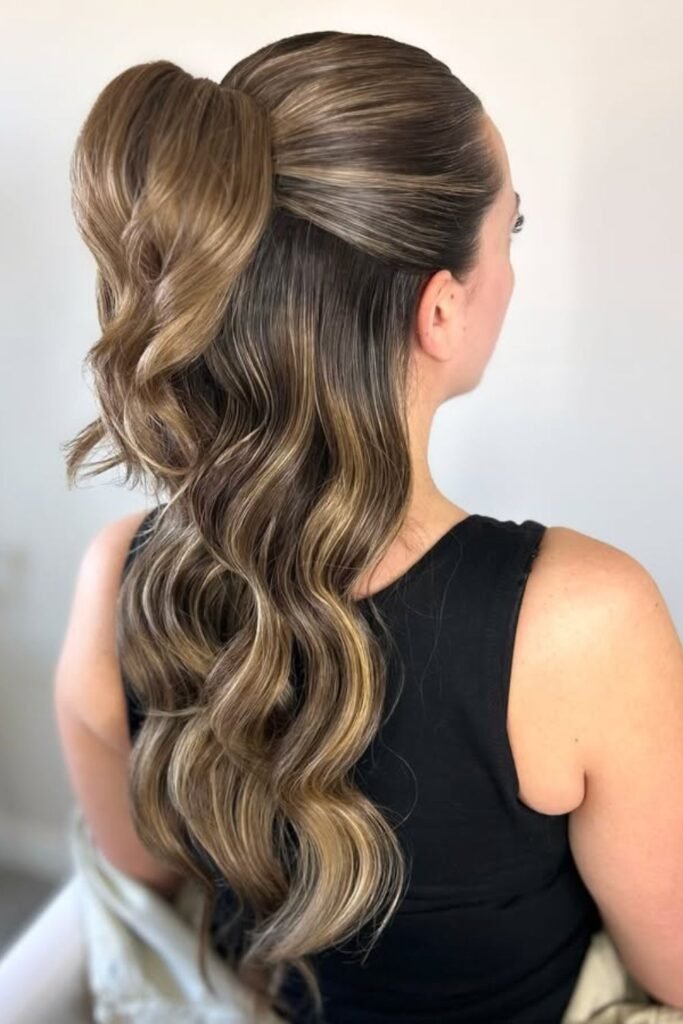
Curled Pony Half-Up
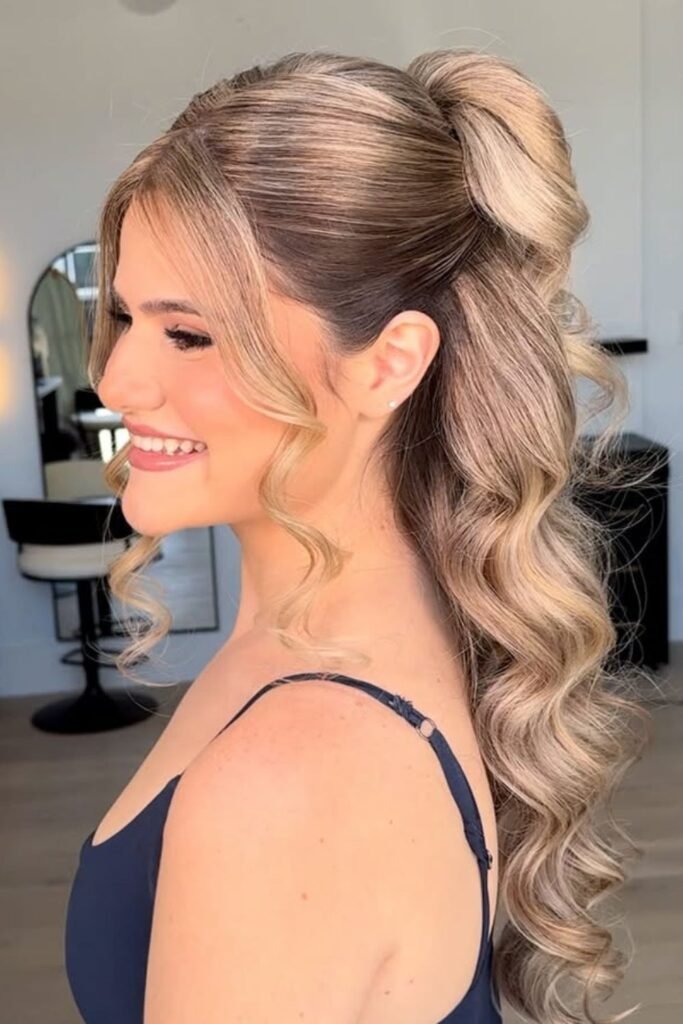
High ponytails make me feel like I’m in high school again, but in a good way.
The curls in the ponytail are tight and bouncy — you’d need to curl sections and then brush them out slightly. I’d probably do this for Jake’s graduation or something where I wanted to look put-together but not too serious.
Twin Twists
Two twists are easier than one complicated braid, which is exactly my kind of math.
You twist sections from each side back toward the center and secure them together. The loose waves below don’t need to be perfect — actually, they look better when they’re a little messy and undone.
Volumized Crown
This is very “mother of the bride” in the best possible way — elegant without trying too hard.
The volume at the crown requires some serious teasing (my mom would call it “backcombing”), then smoothing the top layer over it so you can’t see the teased parts. It’s more work than I usually want to do, but the results are undeniably sophisticated.
Polished Lift
Simple, clean, gets the job done.
Sometimes you don’t need anything fancy — just smooth hair pulled back into a ponytail and curled ends. This is what I do for school events when I want to look presentable but don’t have time for anything elaborate.
Modern Fold