
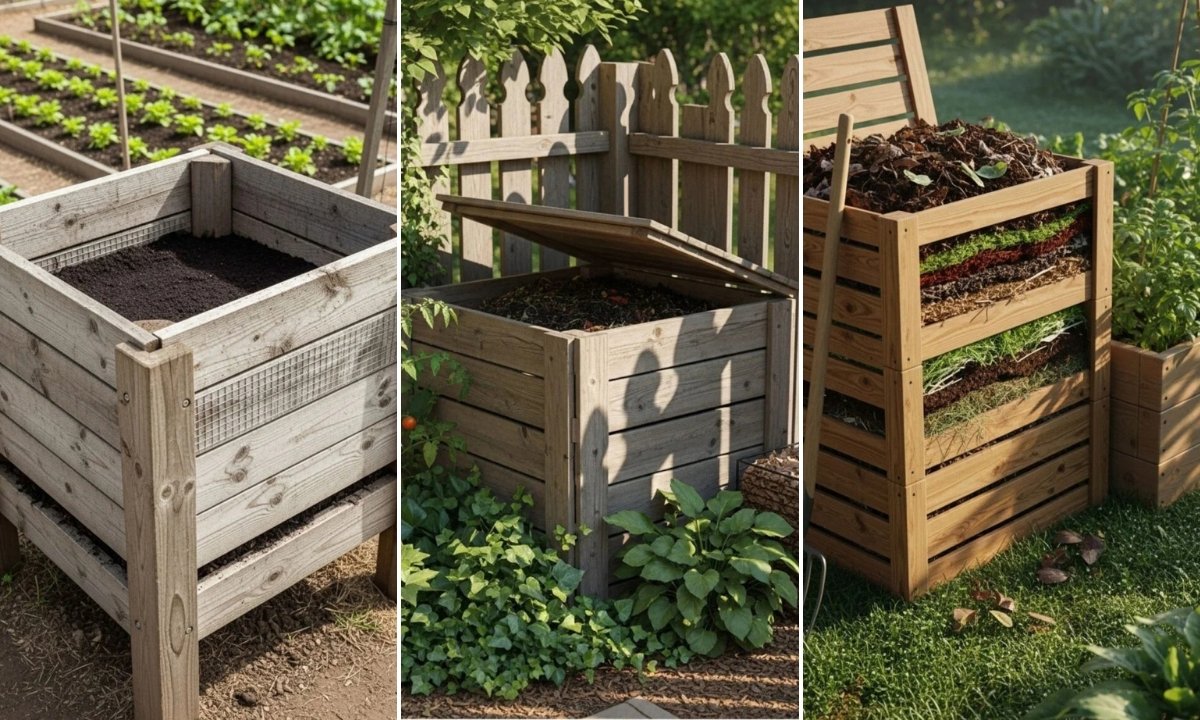
24 DIY Compost Bin Outdoor Ideas For 2026
You want to compost, but the moment you think about it, the same worries show up. Will it smell? Will it attract bugs or rats. Where will I even put it.
Maybe you tried once and gave up because it turned into a wet, messy pile that didn’t work. That’s not because composting is hard.
It’s because the bin didn’t match your space. If you choose the right DIY compost bin from the start, everything gets easier.
This article highlights 24 DIY Compost Bin Outdoor ideas that work well for tight layouts in 2026.
Which DIY Compost Bin Works Best for Small Backyards?
If your backyard is small, the biggest mistake you can make is building a bin that’s too wide or hard to manage.
You don’t need a huge setup to compost successfully. What you need is airflow, easy access, and a size you can turn without effort.
Narrow, vertical bins or compact wooden bins work best because they fit tight spaces and still break waste down properly.
If you choose a bin you can reach and maintain easily, you’ll actually use it and that’s what makes composting work.
Save this article for later! 👇👇
What DIY Compost Bin Ideas Work for Apartment Patios or Balconies?
If you live in an apartment, space and smell matter more than anything else. You can’t use an open pile, and you shouldn’t try.
Sealed containers with controlled airflow work best because they keep odors in and bugs out. Small lidded bins, vertical containers.
Or compact rotating bins let you compost without taking over your patio or balcony. If you control moisture and airflow from the start, composting in a small space stays clean, quiet.
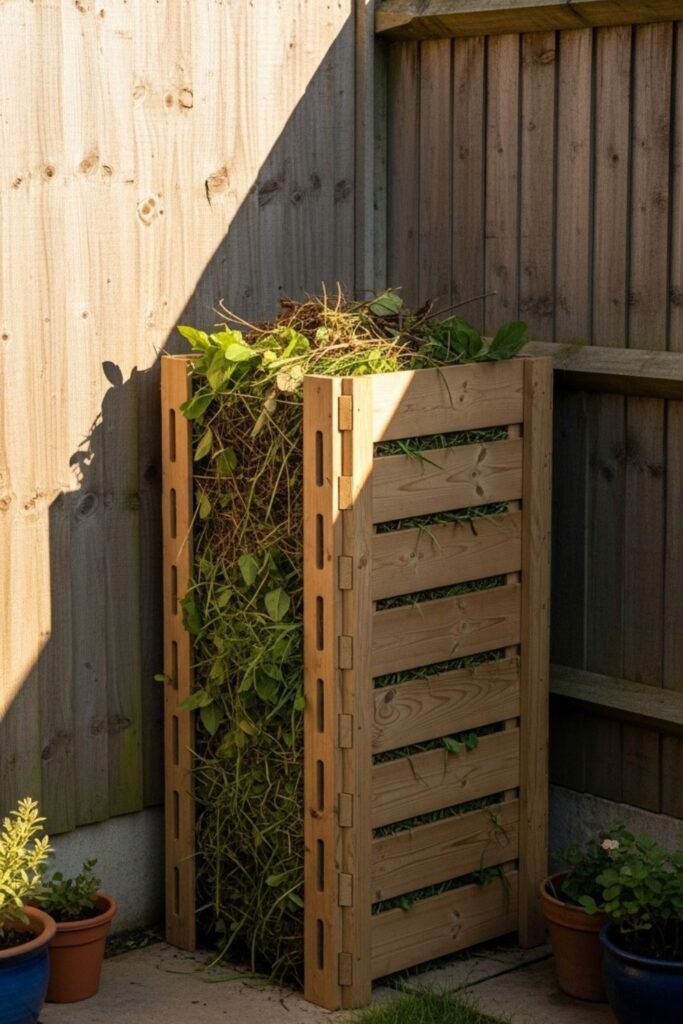
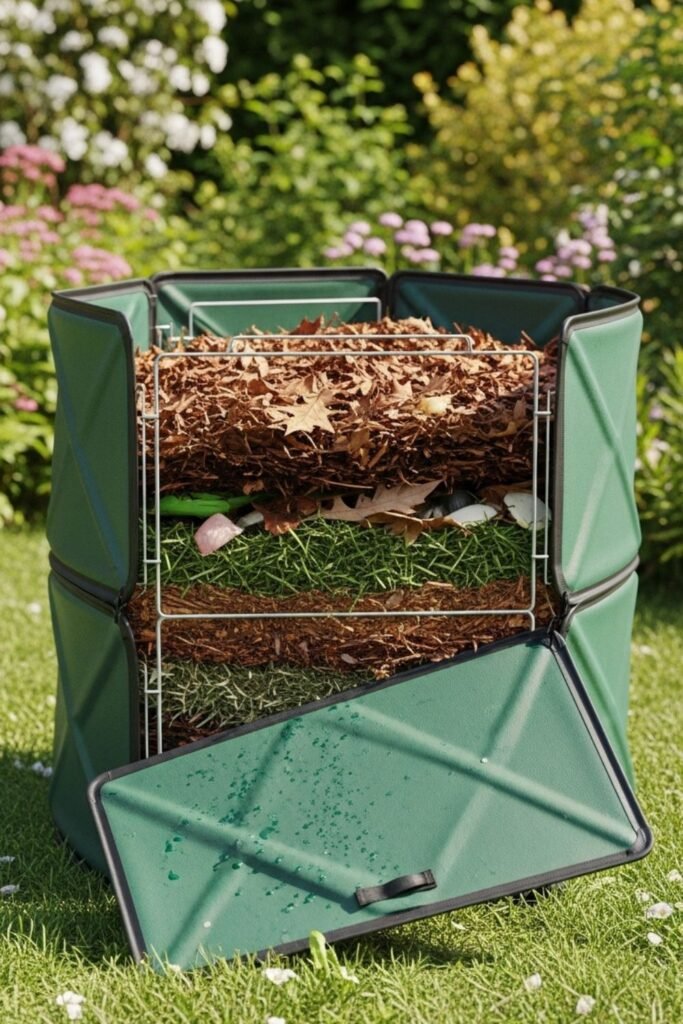
Sliding Panels
I like this idea because it solves one annoying problem right away turning compost in a tight space.
Instead of lifting or digging from the top, I slide one front panel out when the pile gets heavy. That makes mixing faster and less messy.
If you build it narrow and tall, it fits small yards easily. You stay in control of airflow, and when compost is ready, removing it from the bottom feels simple instead of frustrating.
Vertical Stack
Most people think compost needs width, but height actually works better in small outdoor spaces. I go vertical when I want to save ground space without sacrificing compost quality.
A tall bin holds heat well and breaks waste down faster if airflow holes are spaced correctly. You add scraps from the top and harvest from the bottom.
If your yard feels cramped, this setup keeps composting possible without making the area feel crowded.
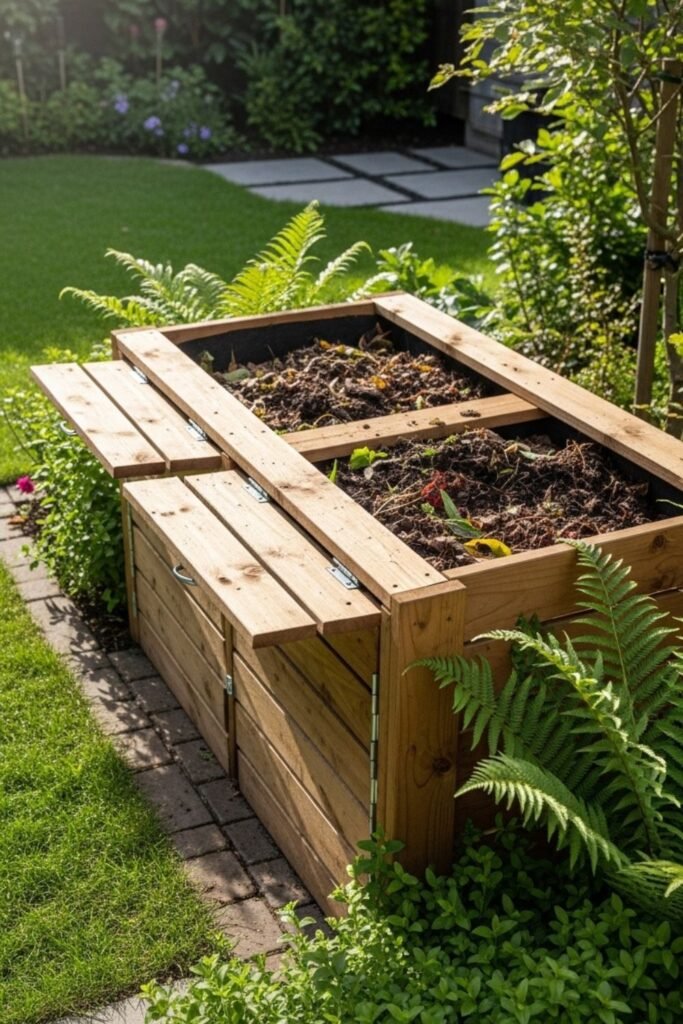
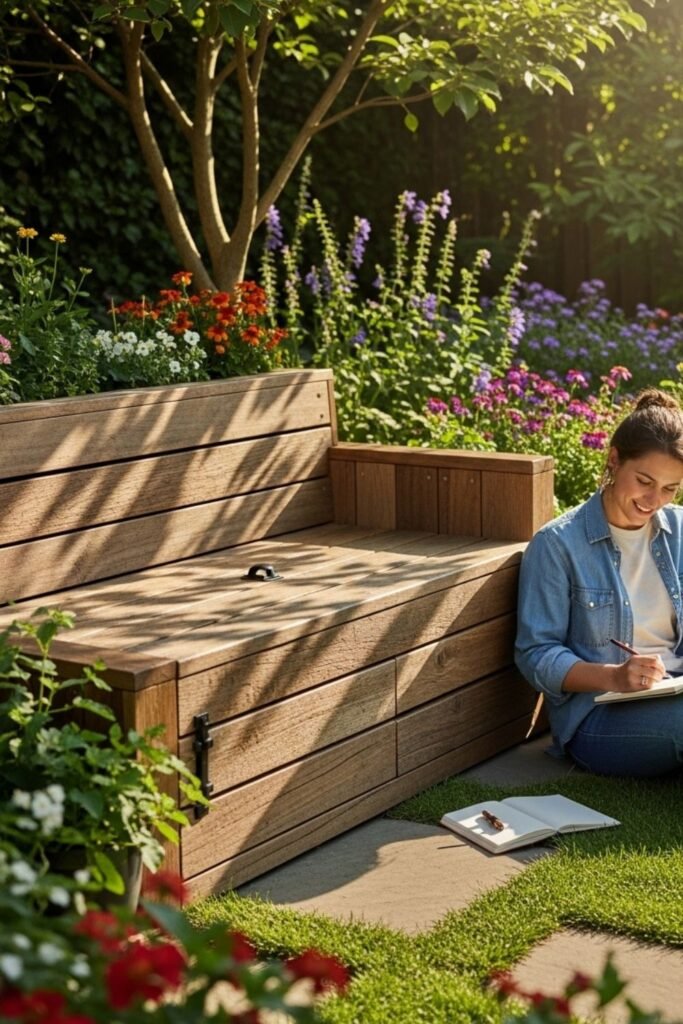
Bench Combo
One smart way to hide a compost bin is to give it another job. I like building a bench-style bin because it blends into the yard naturally.
You sit on it, use it, and forget compost is working underneath. The key is separating the seating area from moisture using a solid top panel.
This design works well if you want composting without giving up usable outdoor space or dealing with something that looks industrial.
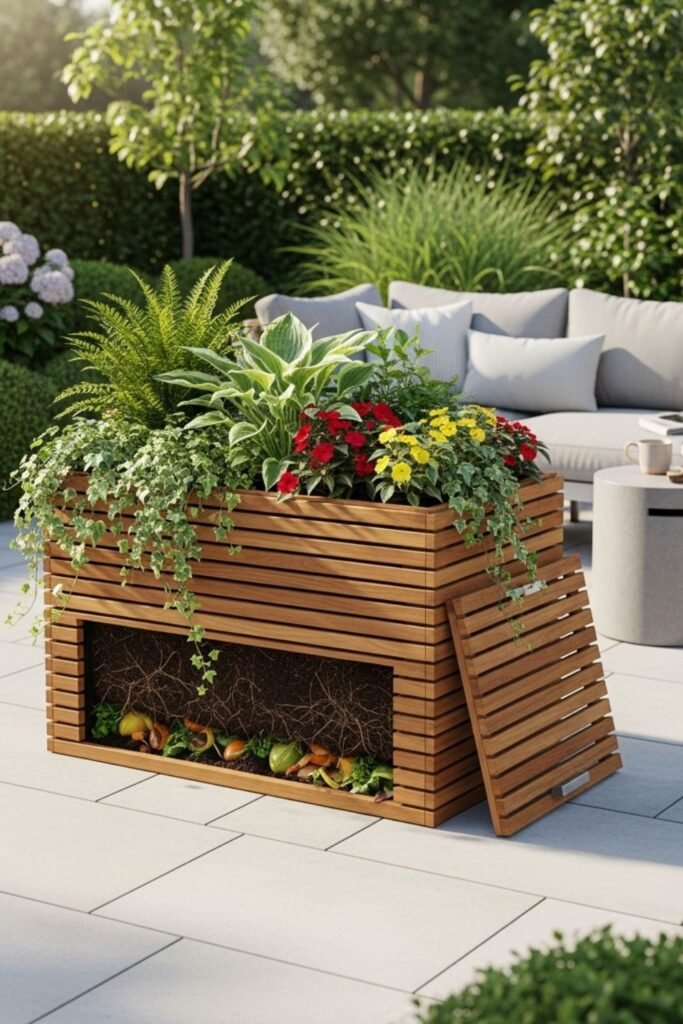
Hidden Planter
Sometimes the best compost bin is the one nobody notices. I use this idea when looks matter more than anything else.
The compost container sits inside a larger planter shell, so from the outside it looks like part of the garden. Airflow comes from hidden vents, not open gaps.
If you want composting near a patio or seating area, this option keeps things clean, quiet, and visually calm.
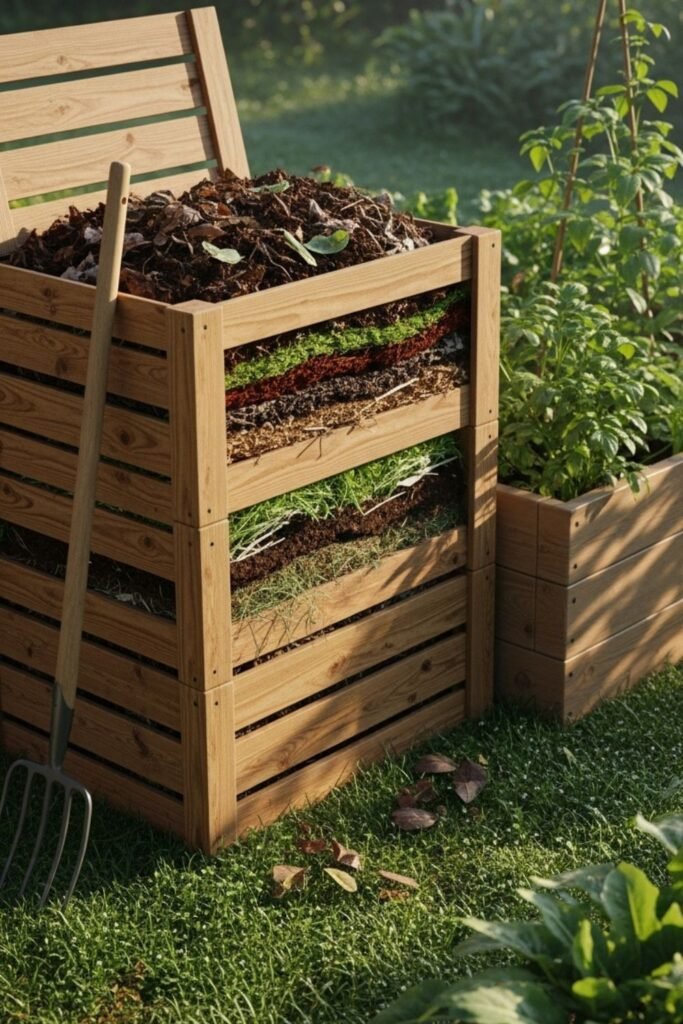
Stackable Crates
Stackable crates changed how I compost when space and flexibility mattered. I build the system upward, adding another crate only when scraps increase.
Air moves naturally through the gaps, so I don’t fight soggy compost. When the bottom crate finishes breaking down, I remove it without disturbing the rest.
You stay organized, avoid overload, and expand only when composting becomes a habit, without pressure or wasted materials at any stage.
Mobile Wheels
Mobility matters more than people expect once compost gets heavy. I put this bin on lockable wheels so I can move it for sun, shade, or cleanup.
Rolling instead of lifting saves time and effort. If rain floods one area, I simply reposition the bin. This design helps renters or anyone who rearranges outdoor space often.
Composting stays convenient because the bin adapts to your yard instead of controlling it, while keeping daily maintenance light and stress free always outside.
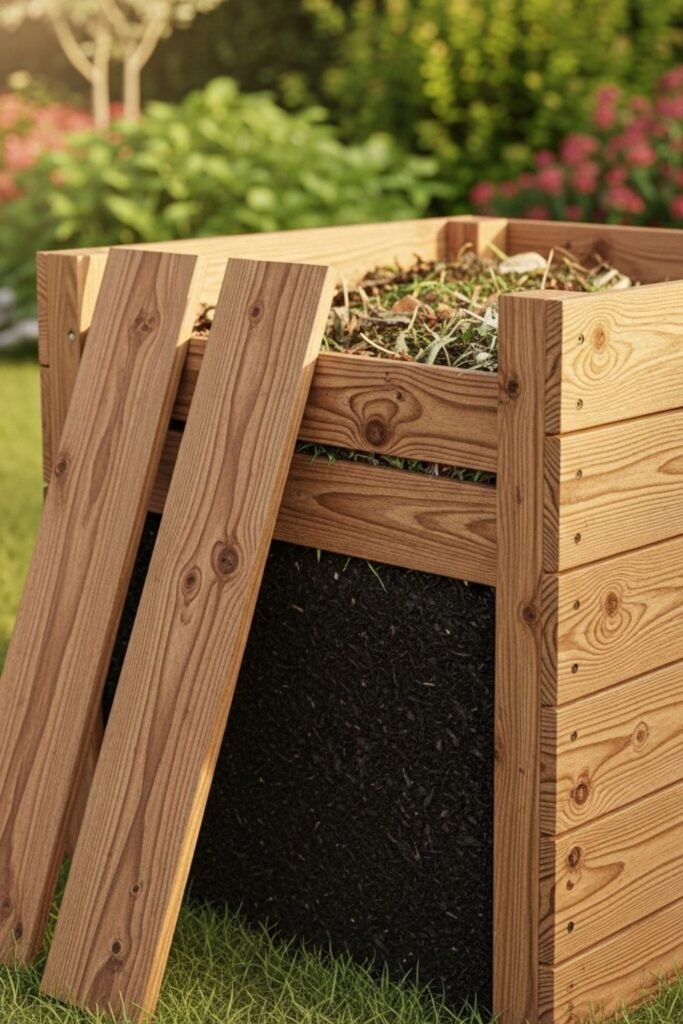
Front Access
Access becomes everything once compost starts breaking down properly. I build this bin with removable front boards so harvesting never feels like digging a hole.
When material at the bottom finishes, I slide one board out and scoop easily. That keeps layers intact and airflow balanced.
This idea works well if you compost often and want less mess. You control how much you open without exposing the entire pile at once which keeps pests away and routines simple daily outdoors.
Corner Fit
Unused corners turn useful when compost fits the shape. I design this bin as a triangle so it slides into yard edges nobody uses.
The angled sides still allow airflow while saving walking space. You don’t need a large footprint to compost well. This works especially well behind sheds or fences.
If your yard feels awkwardly shaped, this bin helps you reclaim space without forcing a redesign while keeping compost accessible manageable and visually unobtrusive every single season.
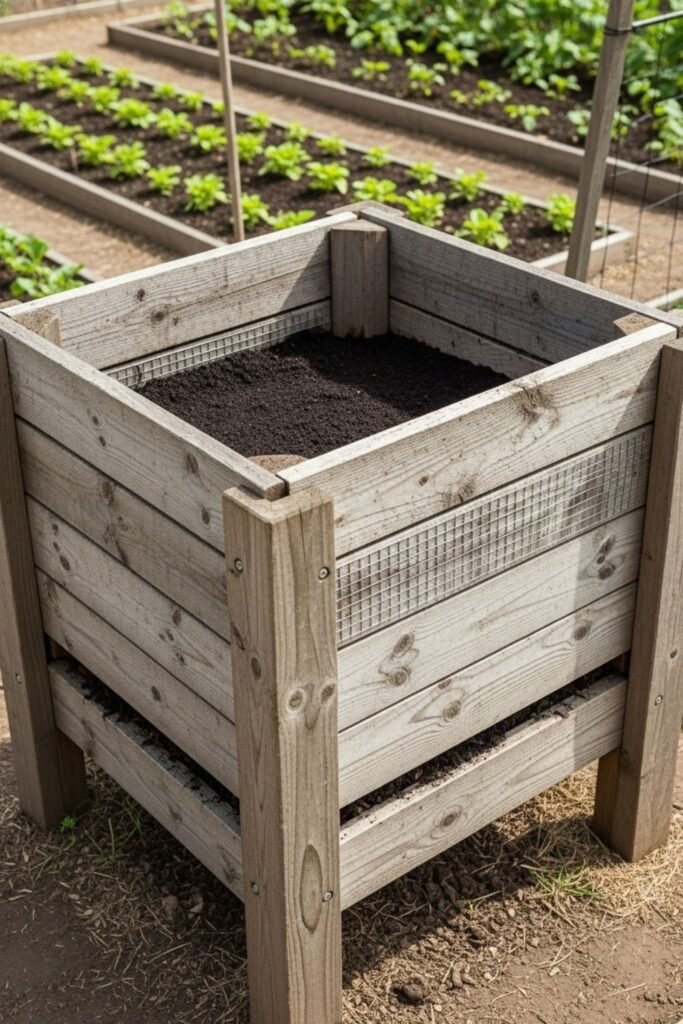
Raised Legs
Keeping compost off the ground solved several problems for me at once. I lift this bin on sturdy legs so moisture drains better and pests lose easy access.
Air moves underneath, which speeds up breakdown without extra turning. Reaching the pile also feels easier because I’m not bending as much.
This design works well if your soil stays damp or critters dig often. Elevation adds control, cleanliness, and comfort while composting regularly in small or medium outdoor spaces.
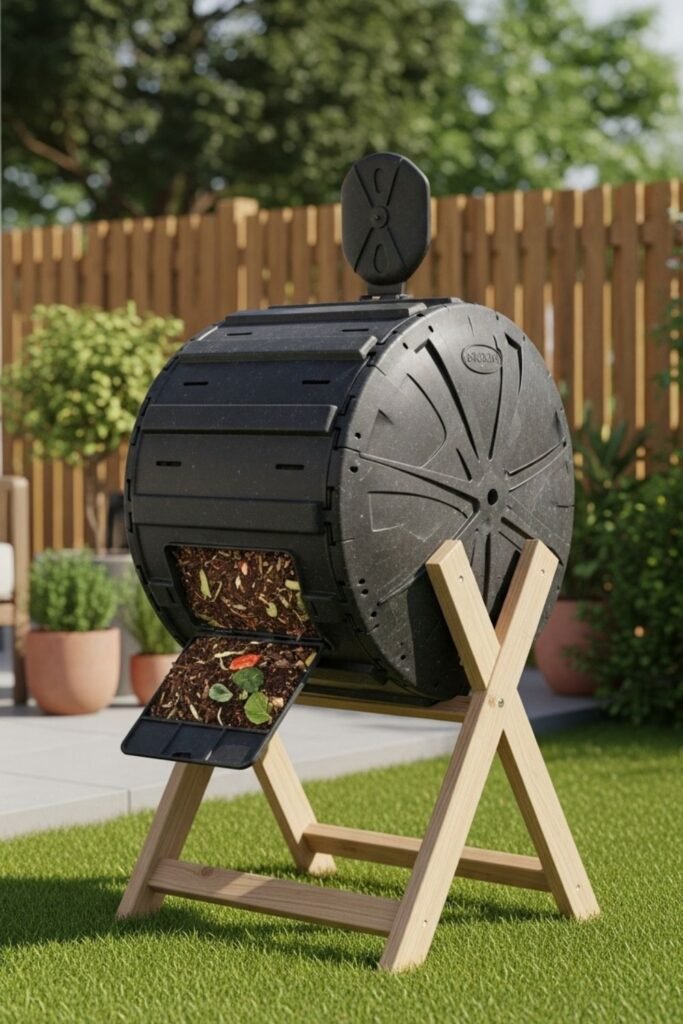
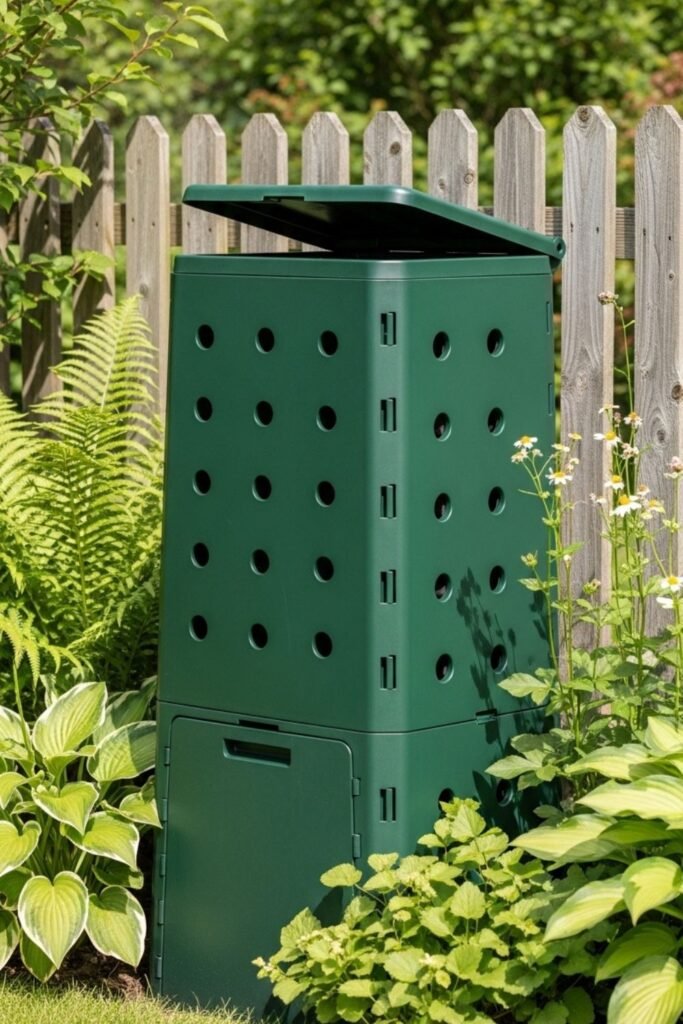
Rotating Drum
Turning compost used to feel like a chore until rotation did the work for me. I build a drum-style bin on a simple stand so I can spin it instead of digging.
Mixing becomes quick and even, which helps scraps break down faster. Capacity stays smaller, but maintenance drops a lot.
This option fits busy schedules because a few spins replace heavy labor. If you want speed without effort, rotation keeps compost active with minimal hands-on time outdoors.
Fence Line
Using the fence changed how I think about placement. I attach this compost bin directly along a yard boundary, which saves floor space and keeps everything tidy.
The fence acts as one wall, while slatted sides handle airflow. You still access the pile from the front without blocking pathways.
This idea works well if your yard feels narrow. Composting stays functional without taking over open space, and the bin blends naturally into existing structures you already use.
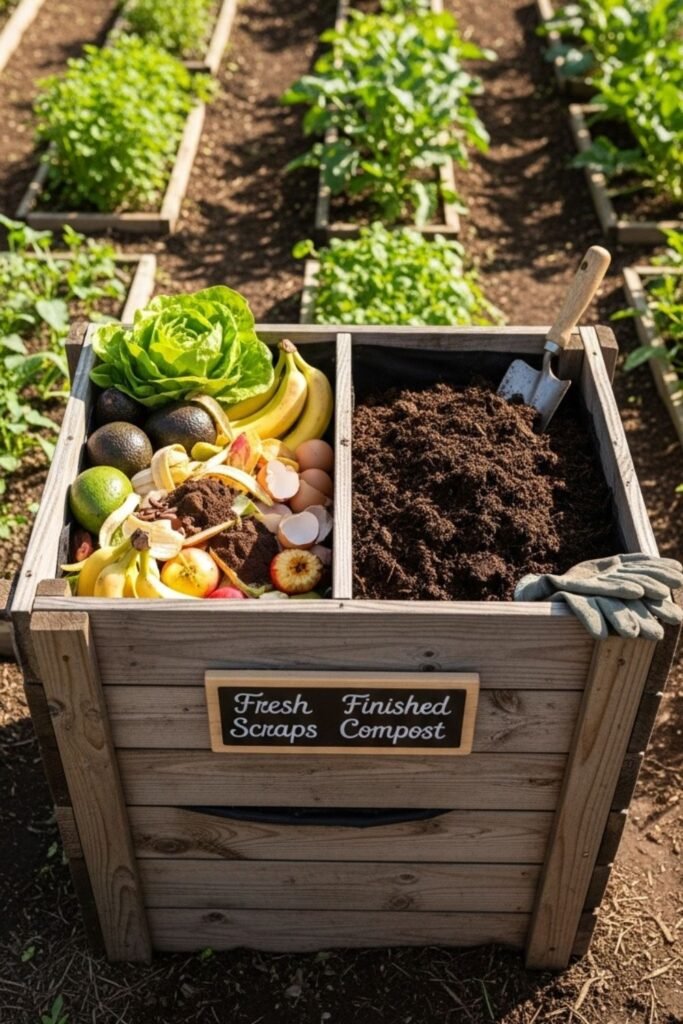
Two Stages
Separating compost into stages made results more predictable for me. I keep fresh scraps in one section and move partially broken material into another.
That way, new waste doesn’t slow finished compost. Turning stays organized, and I always know what’s ready. This system works best if you compost year-round.
You reduce guesswork and avoid mixing unfinished scraps with usable soil. Clear stages bring consistency, better texture, and less waiting when garden time arrives.
Sloped Roof
Rain used to ruin my compost until I added a simple sloped roof. Water now runs off instead of soaking the pile. Moisture stays balanced, which keeps smells under control.
I build the roof slightly overhanging so airflow still moves through the sides. This design works well in wet climates or open yards without cover.
If storms are common where you live, a roof protects progress and saves you from constantly fixing soggy compost problems during long rainy seasons ahead.

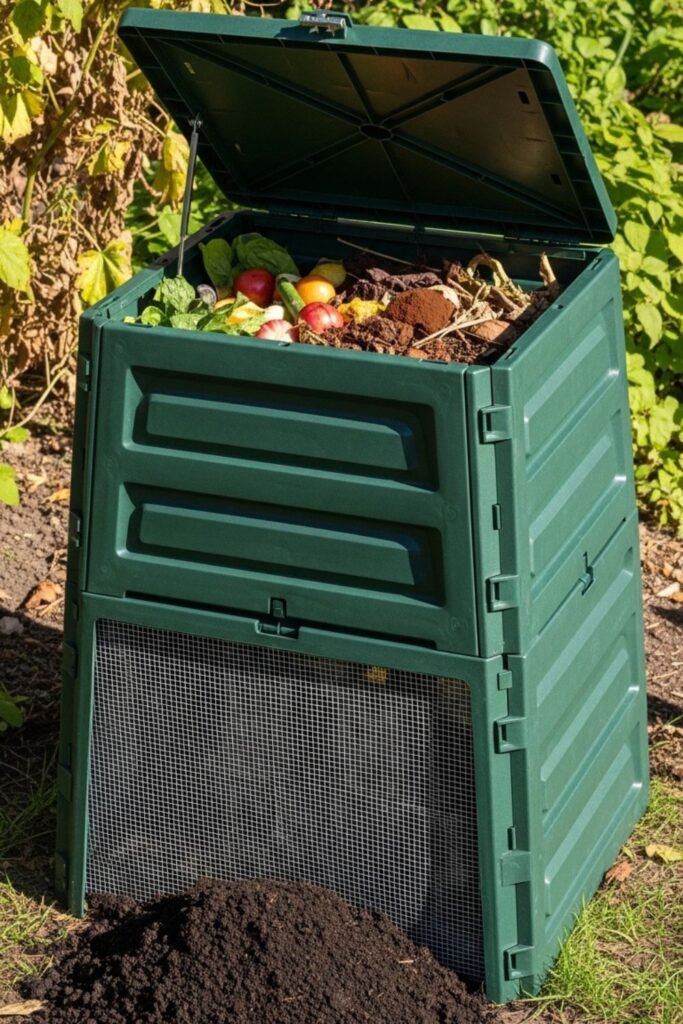
Slim Airflow
Space pushed me toward a slim trash can design with smart airflow. I drill holes in specific zones instead of everywhere. That keeps oxygen moving without drying things out.
The narrow shape fits beside fences or walls easily. I raise it slightly so liquid drains out. This setup works when you want composting to stay discreet and simple.
With the right hole placement, even a basic container breaks scraps down without smell or constant attention from daily household kitchen waste.
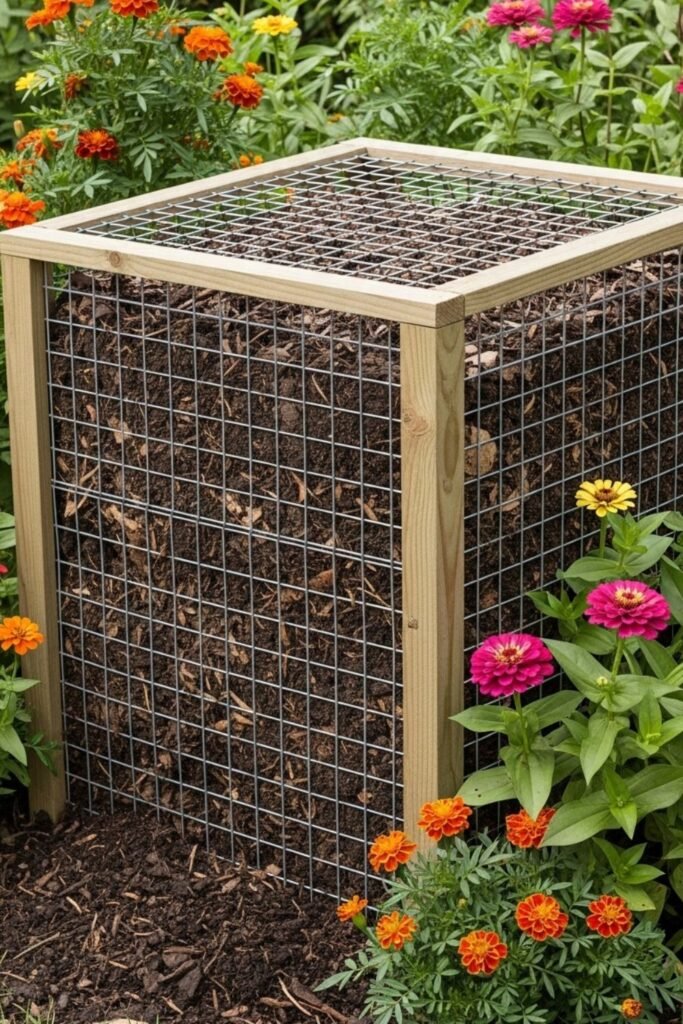
Wood Wire
Airflow problems disappeared once I mixed wood panels with wire sides. Solid framing gives the bin structure, while wire sections let heat and oxygen circulate freely.
I use wood where strength matters and wire where movement helps. Turning feels easier because nothing compacts too tightly.
If pests worry you, adding mesh keeps things secure while still allowing compost to breathe and break down efficiently over time inside active outdoor compost systems.
Foldable Design
Seasonal composting works best when the bin adapts with you. I use a foldable design that opens during heavy use and collapses when scraps slow down.
Storage becomes easy, especially in winter or dry months. Panels lock together during use and separate quickly afterward. This idea fits renters or anyone avoiding permanent builds.
If flexibility matters more than appearance, a collapsible bin keeps composting available without committing space all year long while supporting changing household routines.
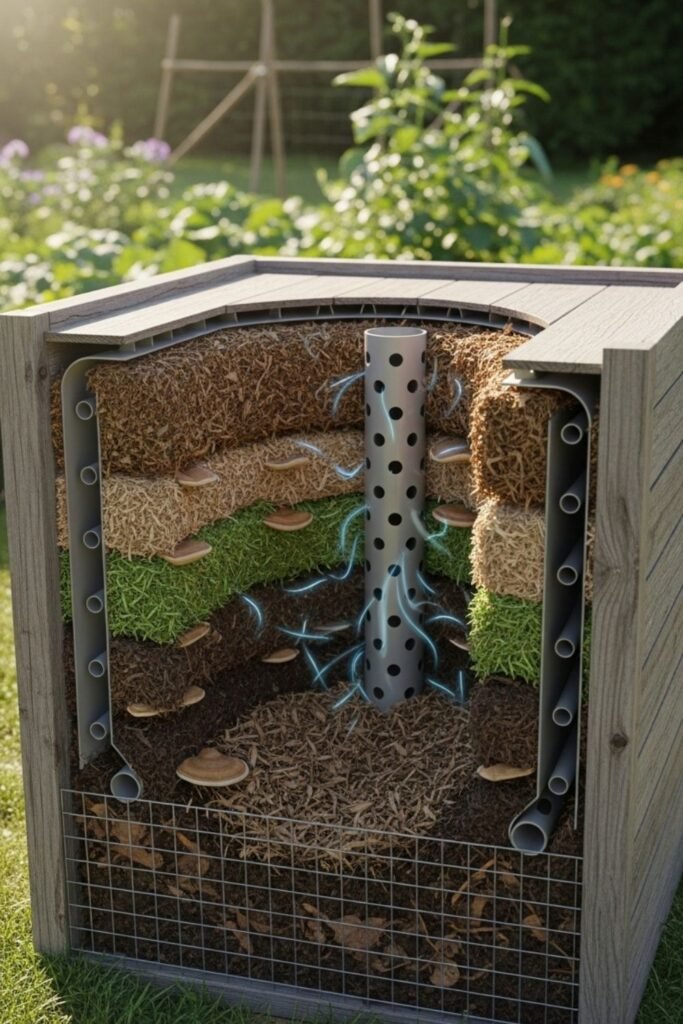
Air Channels
Airflow improves dramatically when channels guide oxygen through the pile. I build this bin with vertical gaps inside, not just holes on the walls.
Those channels stop compaction and keep heat steady without constant turning. Kitchen scraps break down faster because air reaches the center.
If compost keeps stalling for you, directing airflow internally fixes the problem before smell or soggy layers take over completely during long composting cycles outdoors for beginners.
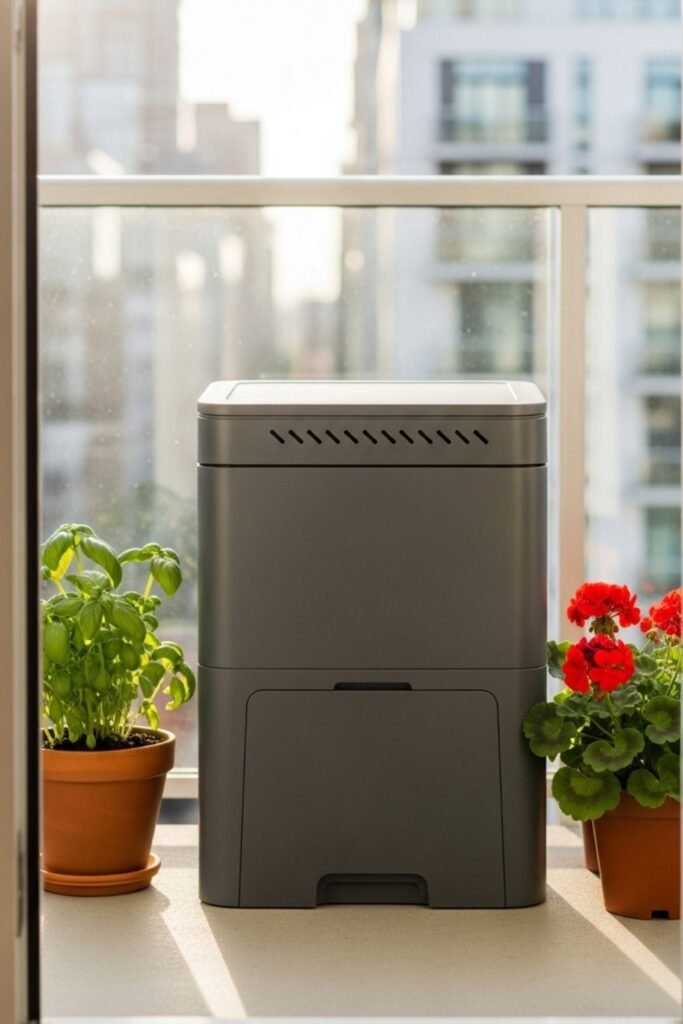
Balcony Safe
Living above ground means mistakes show up fast. I use a sealed bin with controlled vents so smells stay contained and insects stay out.
The lid locks tightly, while small vents release gas slowly. I keep moisture balanced to avoid leaks. This option works when neighbors live close and space feels limited.
If you want to compost on a balcony without complaints, containment and airflow must work together every single day in shared apartment buildings with confidence and comfort daily.
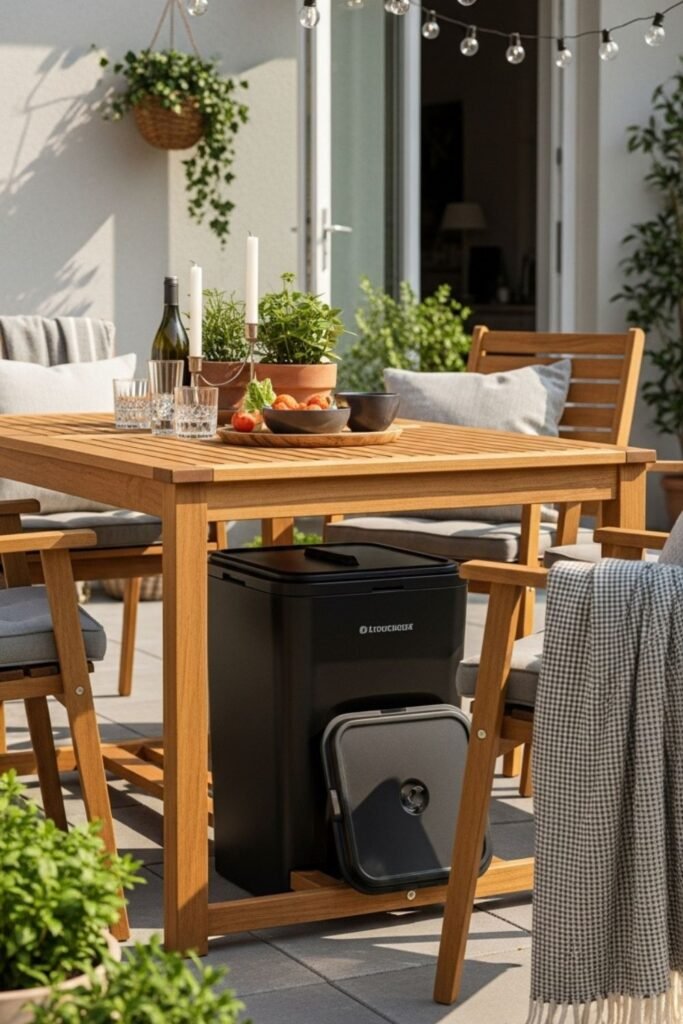
Under Table
Patio furniture can do more than one job. I design this bin to slide under an outdoor table, keeping compost hidden but reachable. The table blocks rain and sun, which stabilizes moisture.
Vent holes face outward, not toward seating. This setup works when patios feel crowded. If you already have furniture outside.
Using the space beneath it lets composting exist quietly without adding visual clutter or disrupting how you use the area during daily outdoor meals, gatherings, and relaxation times.
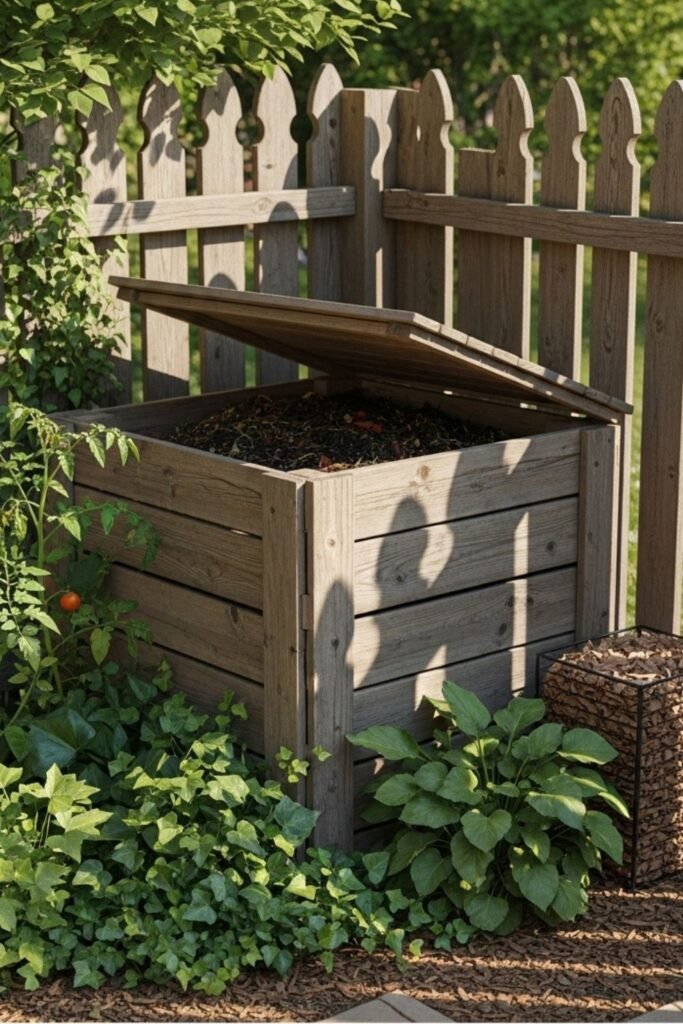
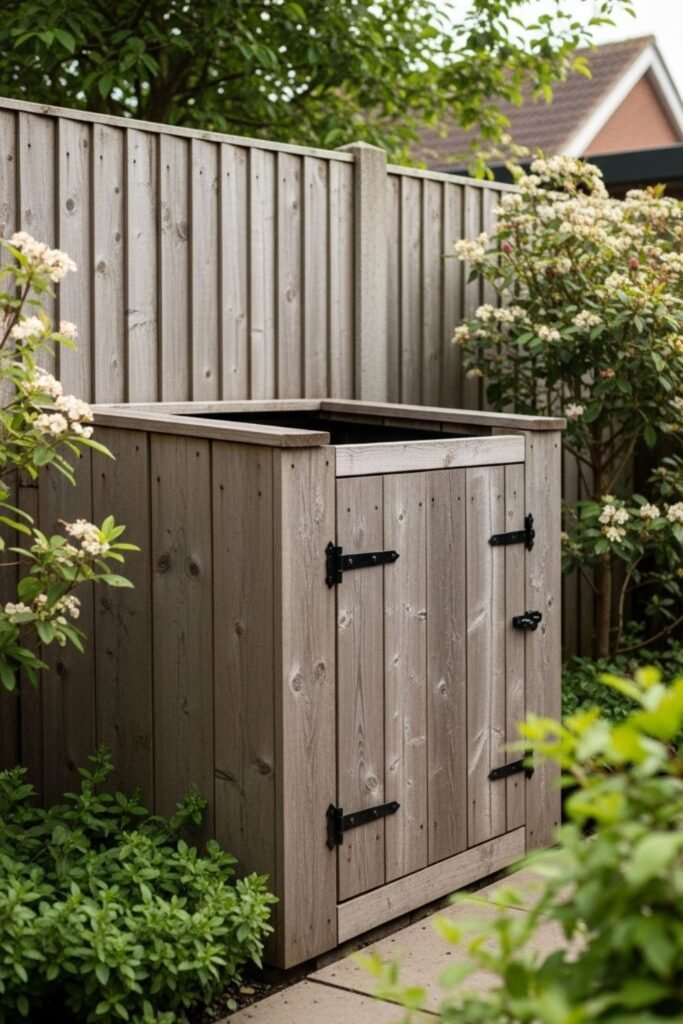
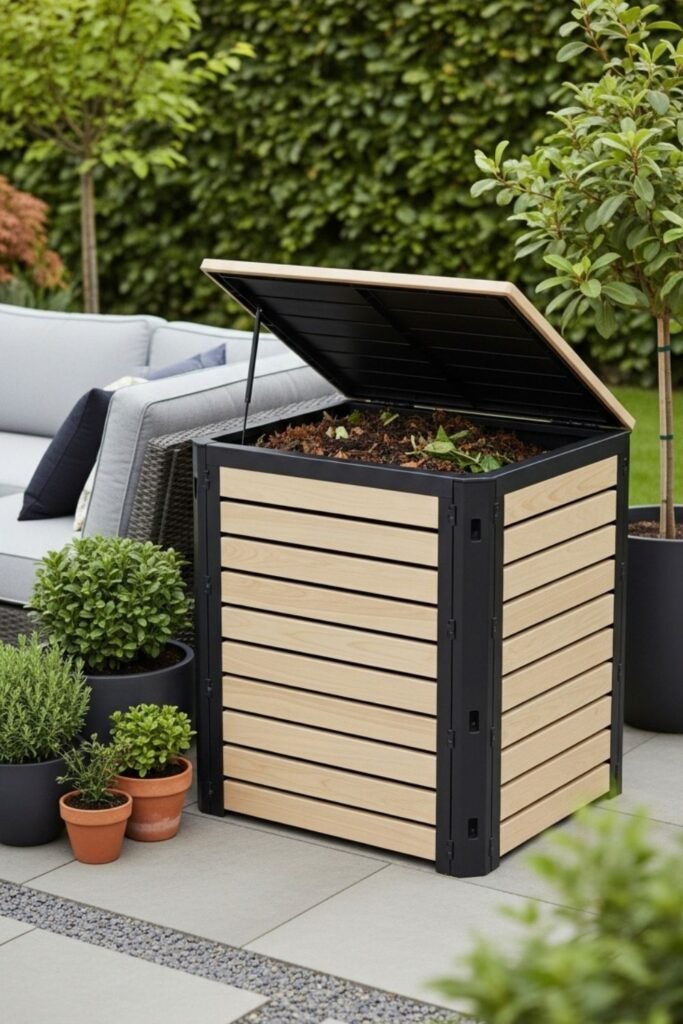
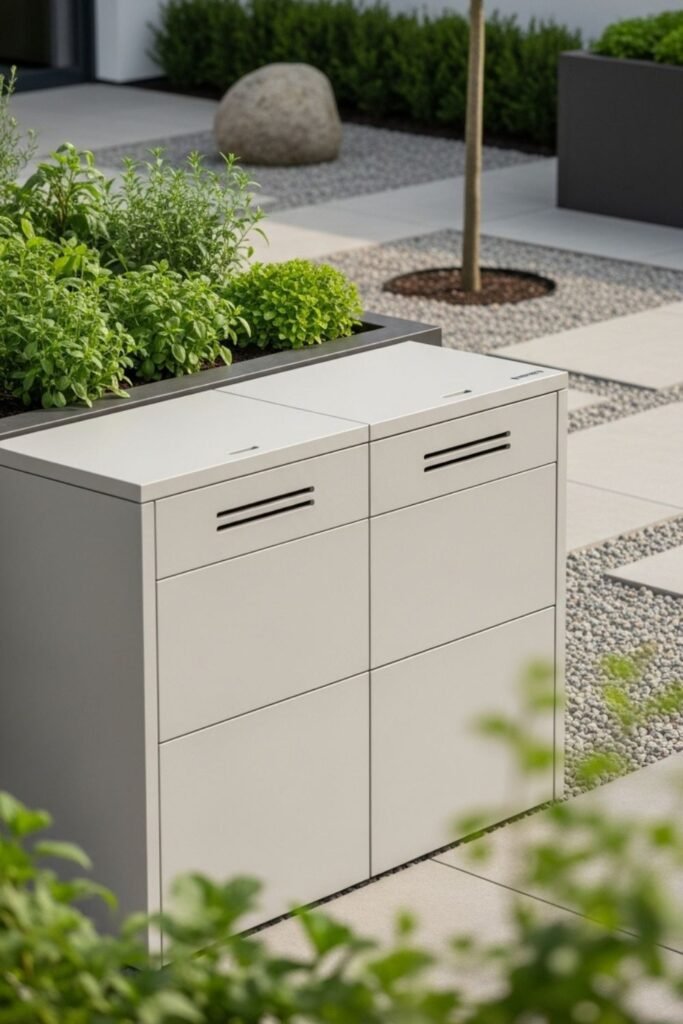
Storage Box
Guests never guess compost lives inside this box. I build it to look like regular outdoor storage, complete with a solid lid and clean sides.
Inside, ventilation panels keep scraps breaking down properly. The disguise helps if appearance matters more than anything. This idea works near seating areas or walkways.
If you want compost without explaining it to everyone, blending function into familiar storage keeps your yard looking intentional and organized while maintaining privacy, order.
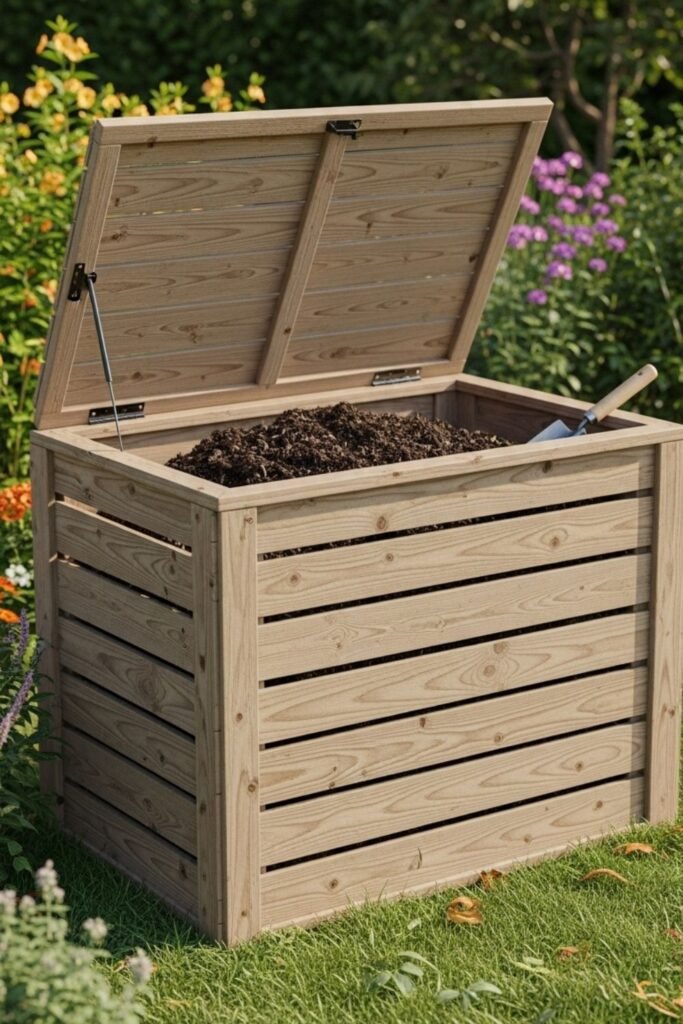
Slatted Box
Top access makes composting feel simpler when you don’t want to dismantle anything. I build this bin fully enclosed with slatted sides so air still moves while the pile stays contained.
Lifting the lid lets me add scraps fast without disturbing layers. The enclosed shape keeps things neat, which matters in visible yards.
If you prefer dropping waste in and walking away, this design keeps compost active while reducing mess, spills, and unwanted attention from pets or wildlife over time.
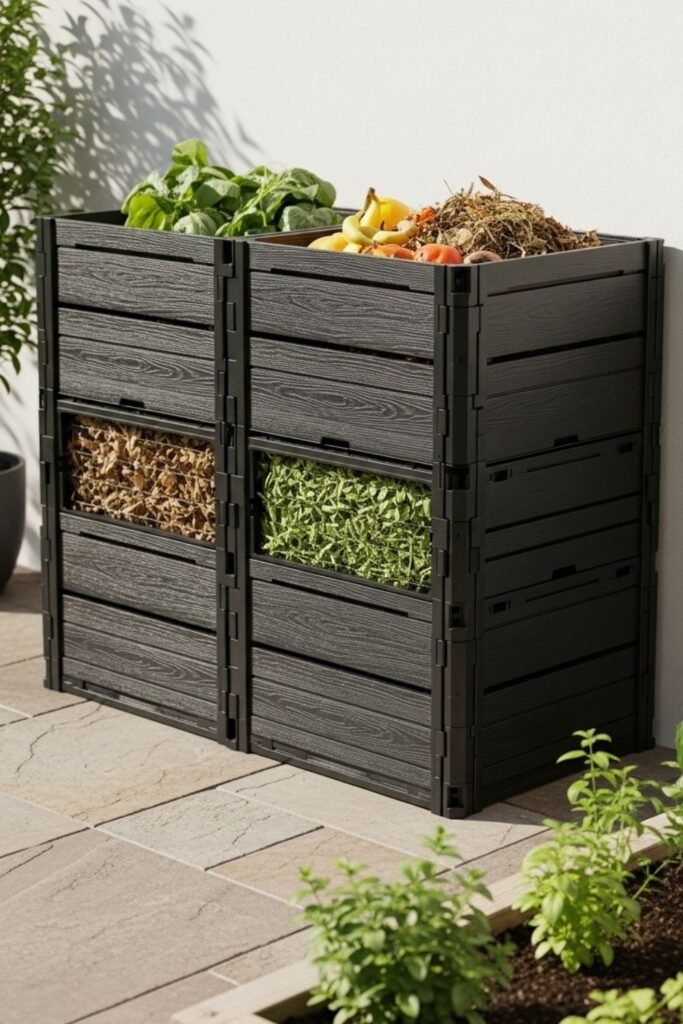
Modular Build
Growth happens fast once composting becomes routine. I design this bin in sections so I can add more space only when needed.
One module works at first, then another snaps in as scraps increase. That keeps the system manageable instead of overwhelming.
If your household waste changes seasonally, modular composting lets you adjust without rebuilding everything, keeping effort low while allowing composting habits to grow naturally.
Mesh Base
Digging pests stopped being a problem once I focused on the base. I elevate this bin slightly and install a strong mesh floor underneath. Scraps stay accessible, but rodents can’t tunnel in.
Air still circulates from below, which helps decomposition. This setup works well in areas with wildlife pressure.
If animals have ruined compost before, blocking access from the ground up protects your work and saves frustration without needing chemical deterrents or constant monitoring outdoors.
Minimal Style
Clean lines matter when compost sits near living space. I keep this bin simple, using smooth panels and neutral colors that blend into the yard. Nothing flashy, nothing bulky.
Function still comes first, with hidden vents and easy access. This approach works if you want composting without visual clutter.
When a bin looks intentional, you feel better keeping it close. A minimalist design helps composting feel like part of the home, not an afterthought tucked away.
FAQs
Can a DIY compost bin really stay odor-free outdoors?
Yes, but only if you control airflow and moisture. Smell usually shows up when scraps stay too wet or compacted.
If you add dry materials like leaves or cardboard and allow air to move through the bin, odors don’t build up. The bin design matters less than how air and balance work together.
How long does compost take in a DIY outdoor bin?
Most DIY compost bins produce usable compost in three to six months. The timeline depends on airflow, turning, and what you add.
Smaller pieces break down faster, and regular mixing speeds things up. If you leave compost untouched, it still works, just at a slower pace.
Hi, I’m Afaf! I’m a law student who loves all things home, style, and gardening. I’ve been writing for over a year about topics like home decor, DIY projects, plants, fashion, and beauty.
I like sharing ideas that are easy to try and don’t cost a fortune. Whether it’s organizing a messy closet, decorating on a budget, or keeping houseplants alive, I write about what I’ve actually tried myself.
When I’m not studying, I’m usually on Pinterest looking for my next project or adding another plant to my collection!