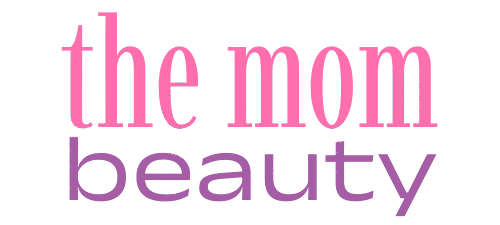
The Ultimate Guide to Highlighting Makeup for Mature Skin
You try to highlight your face, but it only makes things worse.
It settles into lines, clings to dry patches, and draws attention to the areas you want to hide and you have followed the steps, picked the right shades-but something still feels wrong.
Here is the real issue: most highlighting tips do not consider how mature skin behaves.
Your skin has changed, but the advice you are following has not that is why it is not working.
In this article, I will lays it out clearly-what to stop doing, what to use instead, and how to apply highlighter in a way that actually enhances your face.
Let’s jump into it!
Save this article for later! 👇👇

Why Highlighter Stops Working on Mature Skin?
Your skin has changed – it feels drier, looks more textured, and is not as firm as it used to be.
Most highlighters are made for younger, smoother skin, which means now they can settle into fine lines or bring out texture you may not want to highlight.
If you keep using the same products in the same way, they might make your face look older instead of giving it a lifted look.
It is not about giving up highlighter-it is about using it in a new way.
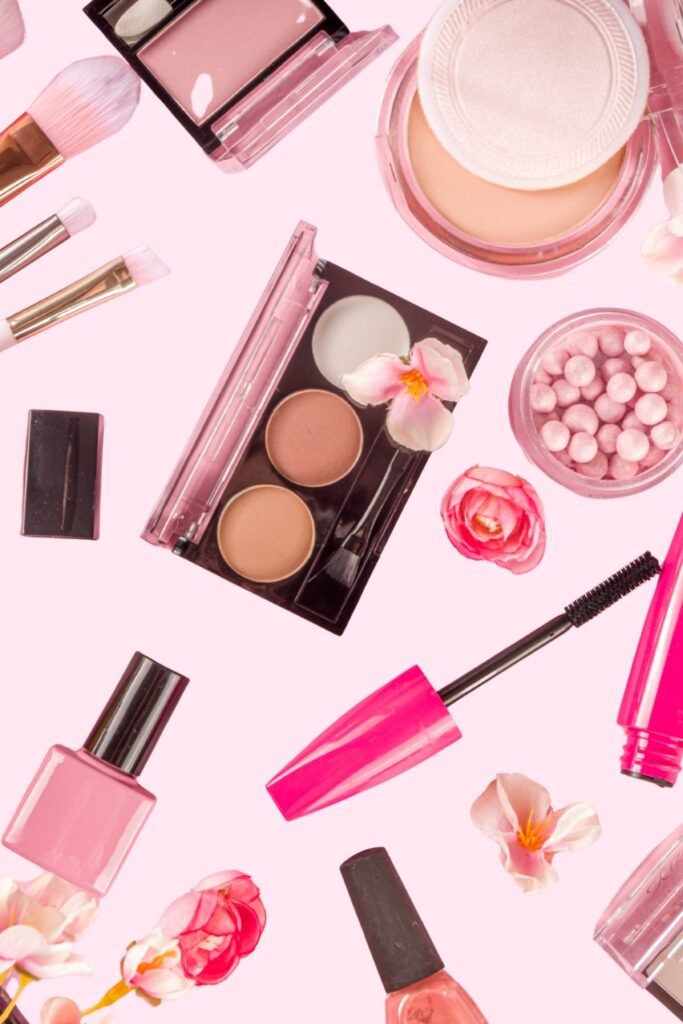
Which Highlighters Actually Work for Mature Skin?
The wrong highlighter can make you look older, especially if it is glittery, chalky, or dry.
On mature skin, these types of highlighters sit on the surface instead of blending in or they reflect light in all the wrong ways, drawing attention to pores and fine lines.
This is why the texture and finish of your highlighter are more important now than ever before.
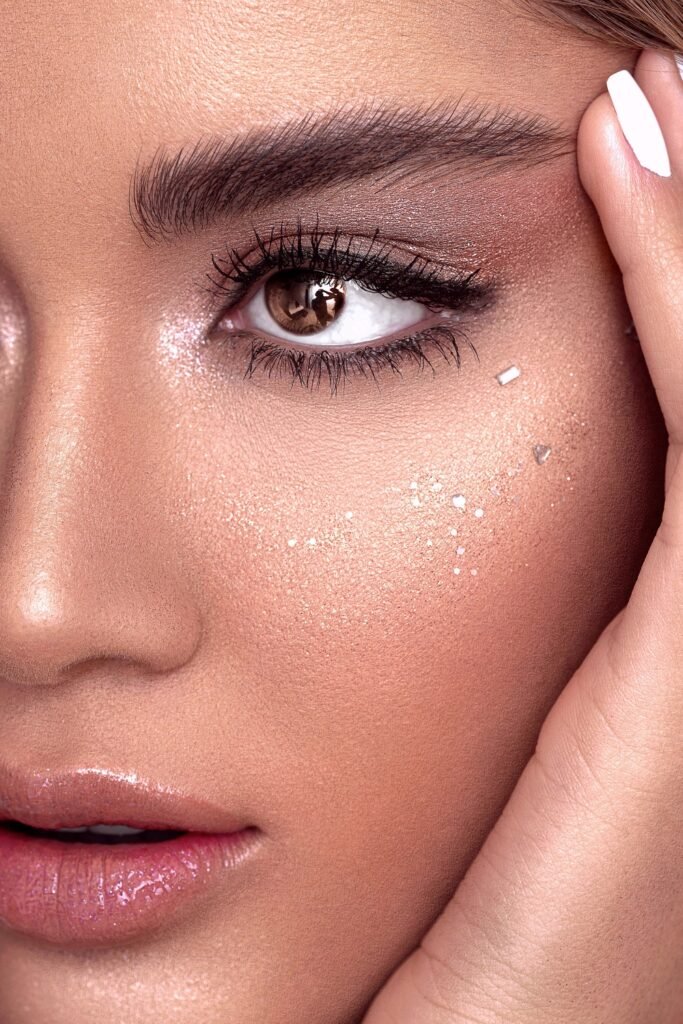
Choose cream or liquid highlighters with a soft, dewy finish and these formulas melt into your skin, creating a natural glow instead of a harsh shine.
Look for labels that say “balmy,” “radiant,” or “luminous.” Stay away from anything that mentions “metallic,” “sparkle,” or “intense highlight.”
Pick shades that match your undertone soft champagne, peach, or rose gold shades blend better than icy silver or bold gold.
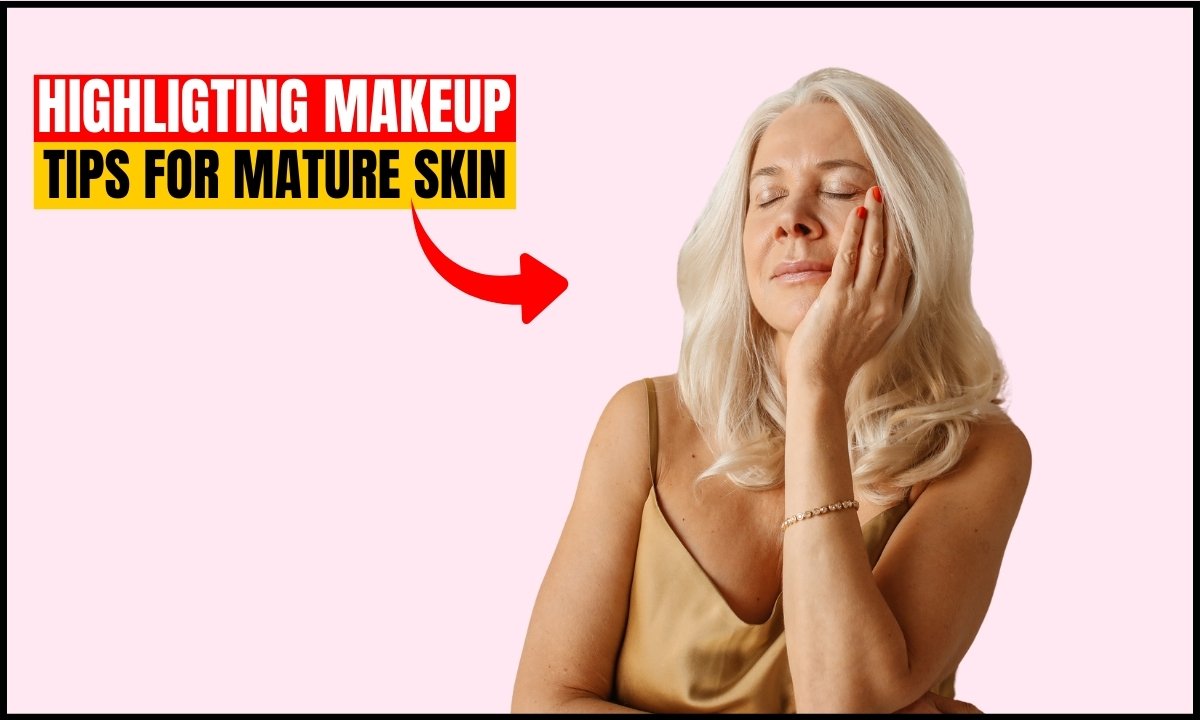
How to Apply Highlighter for Lift?
If you apply highlighter the same way you did in your twenties-directly under your eyes or across your whole cheekbone.
It can make your face look less lifted and draw attention to textures you might not want to highlight.
The key now is to adjust the placement slightly and work with your features rather than against them.
You can start just above your cheekbone, closer to the outer edge near your temple and sweep it upward as you apply-this gives your face a lifted appearance instead of a wider one.
Always avoid putting highlighter too close to the area under your eyes, especially if you have fine lines or puffiness.
You might also want to add a small amount under the arch of your brow, but avoid covering the entire brow bone.
You can brighten your eyes with a tiny dab at their inner corners and enhance your lips with a touch on your cupid’s bow, as long as your lips are not heavily lined.
If the skin on your T-zone is smooth, a light swipe along the bridge of your nose can create balance.
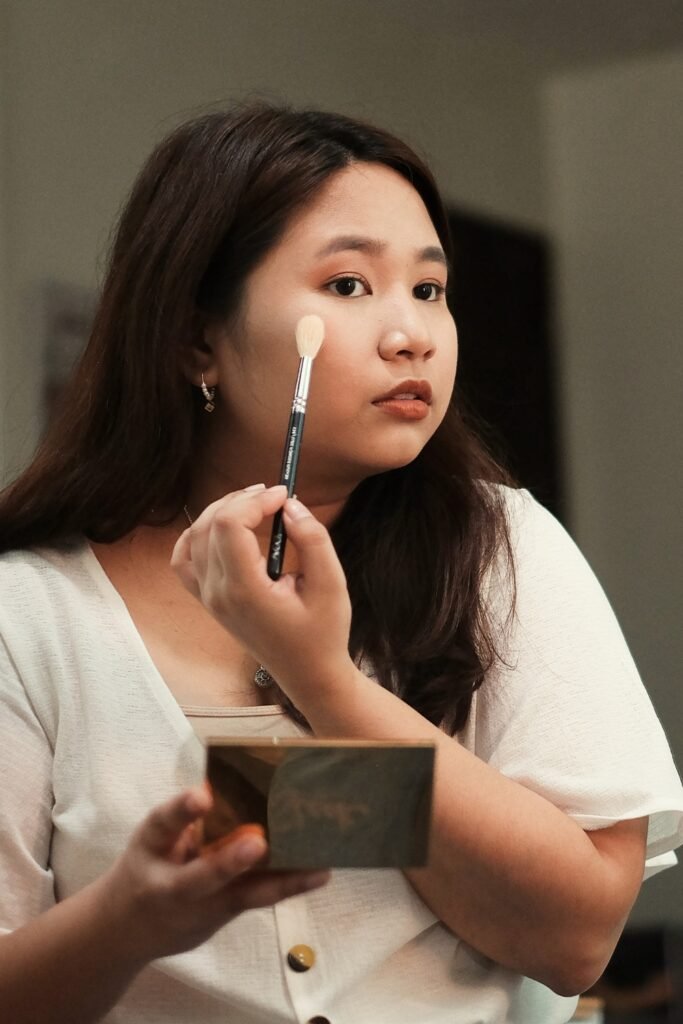
How to Blend Highlighter Right?
Even the best highlighter can look bad if it is not blended well.
Harsh lines, shiny streaks, and uneven patches can make your face look older, especially if your skin has fine lines or texture.
This is why how you apply it is just as important as where you place it.
You have to skip using a fluffy brush. Instead, use your fingertips or a damp sponge and the warmth from your fingers helps the product blend naturally into your skin.
Gently tap it in-do not swipe or rub. If you are using a sponge, press and roll it instead of dragging it across your face.
This will keep the product in place and stop it from sticking to dry areas and the goal is to make the glow look like it is coming from your skin, not sitting on top of it.
When blended properly, highlighter adds a soft lift and light to your face. When blended poorly, it can add years.
How to Match Highlighter with Your Skin?
1. Dry Skin
Use a hydrating cream or balm formula. Stay away from powders because they cling to dry patches and leave your skin look rough.
2. Oily Skin
Choose a cream or balm that gives your skin moisture. Do not use powders because they stick to dry areas and make your skin look flaky.
3. Textured or Acne-Prone Skin
Pick a cream or balm that adds moisture to your skin. Stay away from powders because they stick to dry spots and can make your skin look flaky.
4. Sagging or Line-Prone Skin
Place the highlighter higher on your face, such as on the temples. Avoid applying it on areas with folds or deep lines.
Choose smooth, non-glitter creams to create a more lifted and polished look.
What to Do If Highlighter Still Fails?
If the highlighter keeps sticking to lines and texture, then skip it.
Instead, you can use a radiant primer and a glow-enhancing moisturizer under your makeup to create a soft, overall glow.
Another option is to mix a small amount of liquid illuminator into your foundation or use a dewy cream blush.
These methods give your skin a natural, healthy appearance without drawing attention to any problem areas.
Remember, a glowing look does not have to rely on shimmer-it can come from thoughtful layering.
Conclusion
You are not trying to turn back time – you just want your skin to look healthy, awake, and cared for.
The goal is not to chase that intense, shiny glow you see all over social media or that kind of shine is made for smooth, youthful skin – not skin with texture and a story to tell.
Instead, aim for a soft, natural radiance and a gentle lift on your cheekbones, a touch of brightness in your eyes, and the right product that works with your skin – not against it.
You do not need to glow like you are 20 and you just need the kind of glow that makes you look refreshed, confident, and real.
You may also like to read!
- How To Apply Makeup Step By Step Like A Professional
- Why Makeup Was REALLY Invented?
- 5 Signs You’re Wearing Way Too Much Makeup
Hi, I’m Afaf! I’m a law student who loves all things home, style, and gardening. I’ve been writing for over a year about topics like home decor, DIY projects, plants, fashion, and beauty.
I like sharing ideas that are easy to try and don’t cost a fortune. Whether it’s organizing a messy closet, decorating on a budget, or keeping houseplants alive, I write about what I’ve actually tried myself.
When I’m not studying, I’m usually on Pinterest looking for my next project or adding another plant to my collection!