How to Create Instagram-Worthy Nail Designs at Home
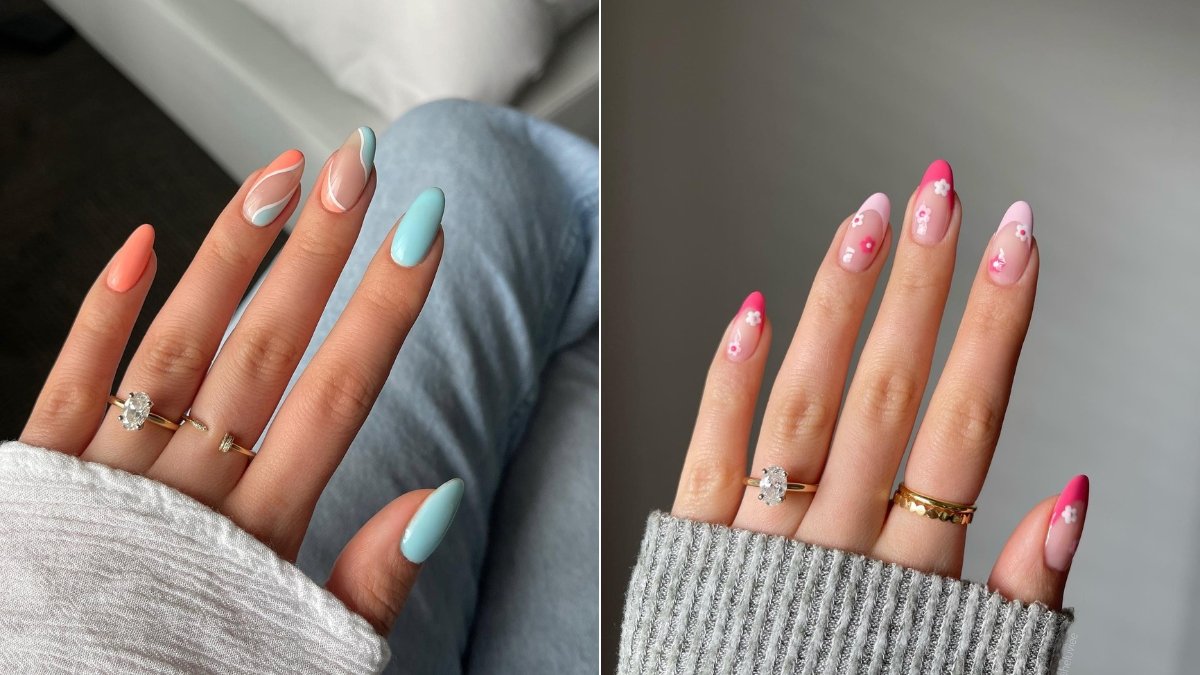
Are you tired of spending money at the salon just to get your nails done.
Or have you tried creating nail art at home, only to end up with polish on your skin and no cute designs to show for it?
You are not alone. The good news is, you do not need to be an expert or own fancy tools to make it happen.
In this article, I will guide you through the process, offer tips for various nail designs, and explain how to make nail art last longer.
Let’s jump into it!
How To Make Nail Designs At Home – Here’s the Method
Save this article for later! 👇👇
1. Wash Your Nails and Hands
Wash your nails and hands with water with the help of soap. It will remove dirt, and clean your hand
Use an old toothbrush and nail brush and then dry your hands completely with towel.
2. Remove Old Polish (If Any)
Before you start painting, make sure there is no old polish left on your nails.
Even a small amount of leftover polish can make your new design look uneven or cause it to peel off quickly.
Take a cotton pad and soak it with nail polish remover-any type will work.
If the polish is tough to remove, press the cotton pad on your nail for a few seconds before wiping it away.
3. Shape and File Your Nails
Now that your nails are clean, it is time to shape them. This is the step where your nails start to look good-even before you add any polish.
Choose the nail shape you like the most: round, square, oval, almond-whatever matches your style.
4. Gently Push Back Your Cuticles
Cuticles play a big role in how neat your nail design looks. After washing your hands, your cuticles will already be soft.
5. Apply a Base Coat
Do not skip this step a base coat helps your nail polish stick better, last longer, and go on smoothly
It also protects your natural nails, especially if you are using bold or dark colors that might stain.
Take your base coat and apply a thin, even layer to each nail. Start at the bottom near the cuticle and brush straight to the tip.
Easy Nail Art Designs for Beginners Without Tools
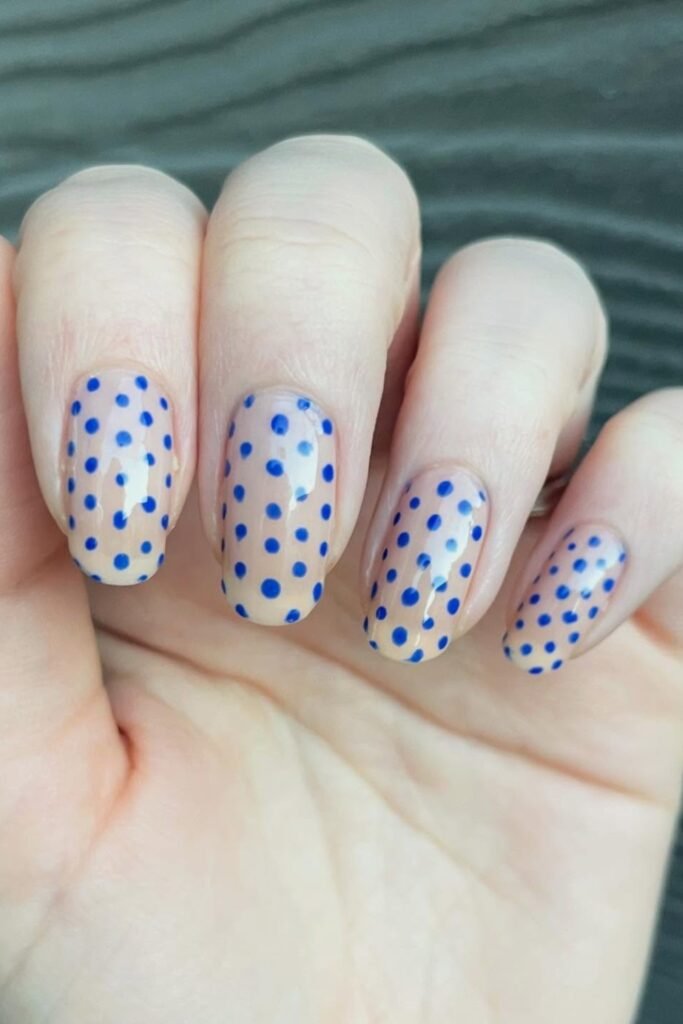
1. Polka Dots with a Bobby Pin
This is one of the simplest nail designs you can try-no special tools required.
If you have a bobby pin, you are ready to start. Let them dry completely. Next, take a bobby pin and gently pull the ends apart.
Use the rounded tip (the small metal ball) as your dotting tool.
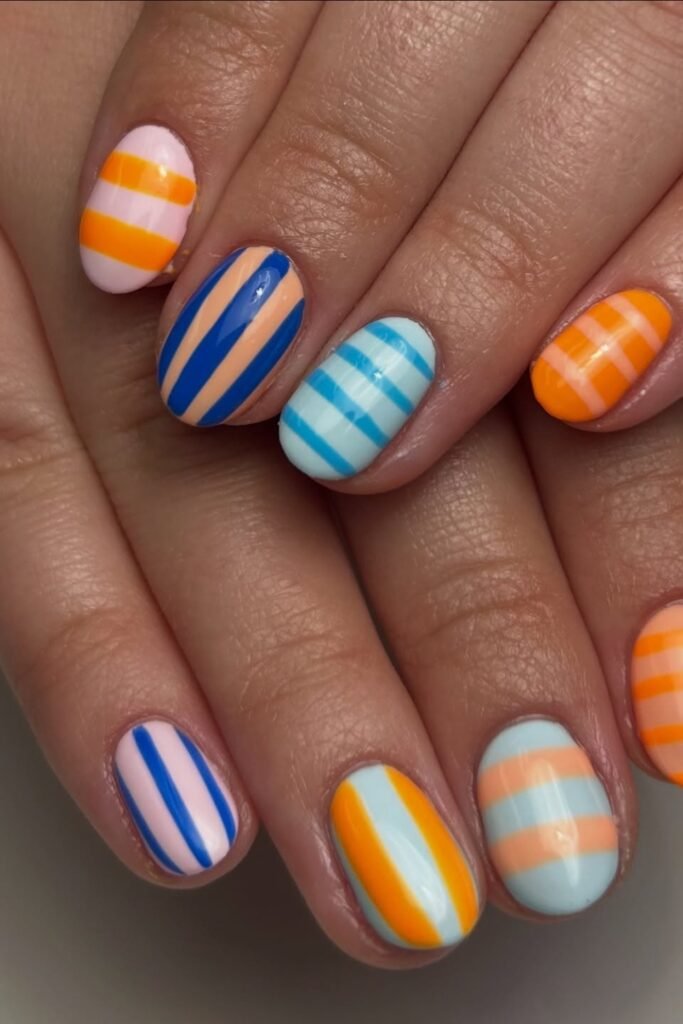
2. Stripes Using Tape
Do you want clean, sharp lines on your nails without using a fancy nail art brush?
Try tape it is simple, affordable, and great for beginners.
Once the polish is dry, cut small strips of scotch tape and place them on your nails in the pattern you want-horizontal, vertical, diagonal, or even a crisscross design.
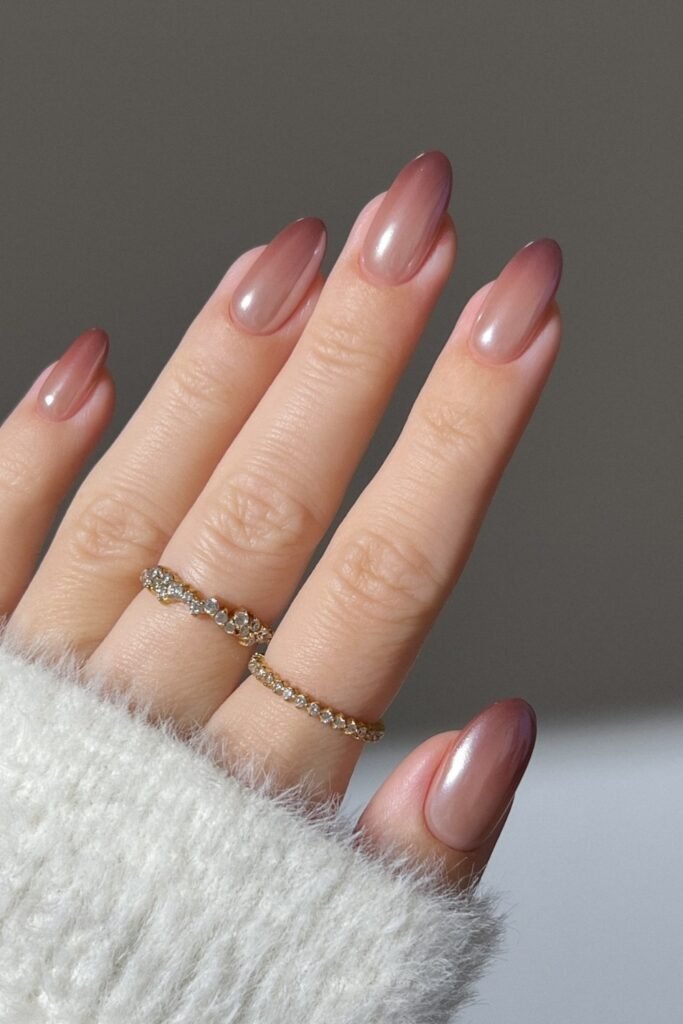
3. Ombre with a Makeup Sponge
The ombre look blends two or more colors, fading from light to dark or from one shade to another.
Next, take a soft, foamy makeup sponge and paint two stripes of polish directly onto it-one stripe of each color, placed side by side so they touch.
4. Marble Nails with Plastic Wrap
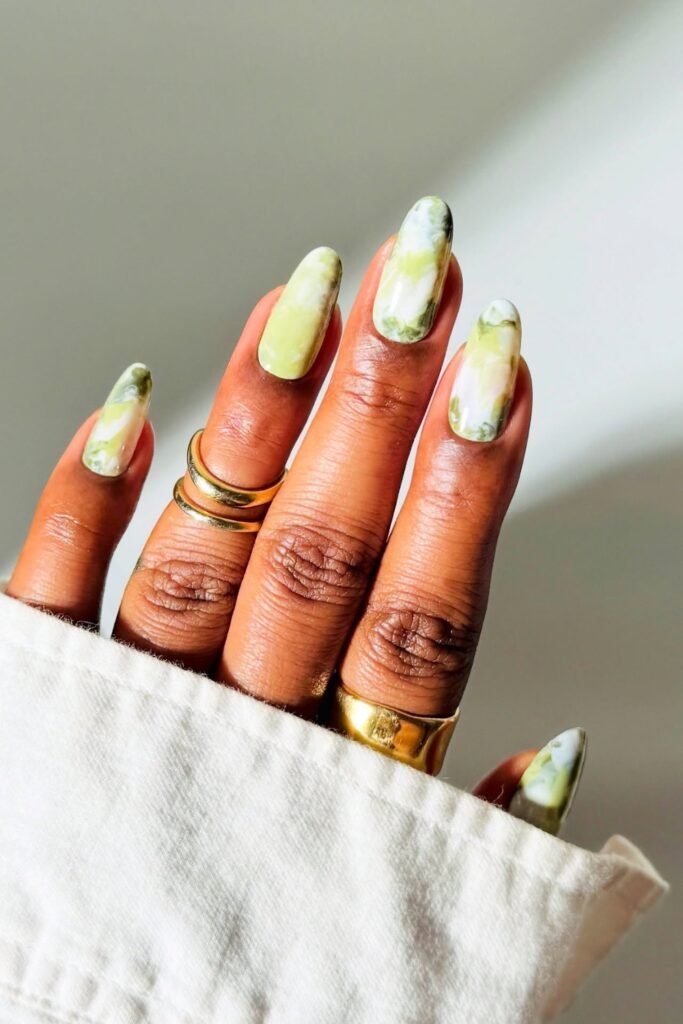
This design looks elegant but is one of the simplest DIY nail art tricks you can try.
All you need is a piece of plastic wrap, like the kind you use in the kitchen. White, nude, or light gray works best if you want the marble effect to stand out.
Then, choose a second color-something darker or bolder-and apply a thin coat over the nail.
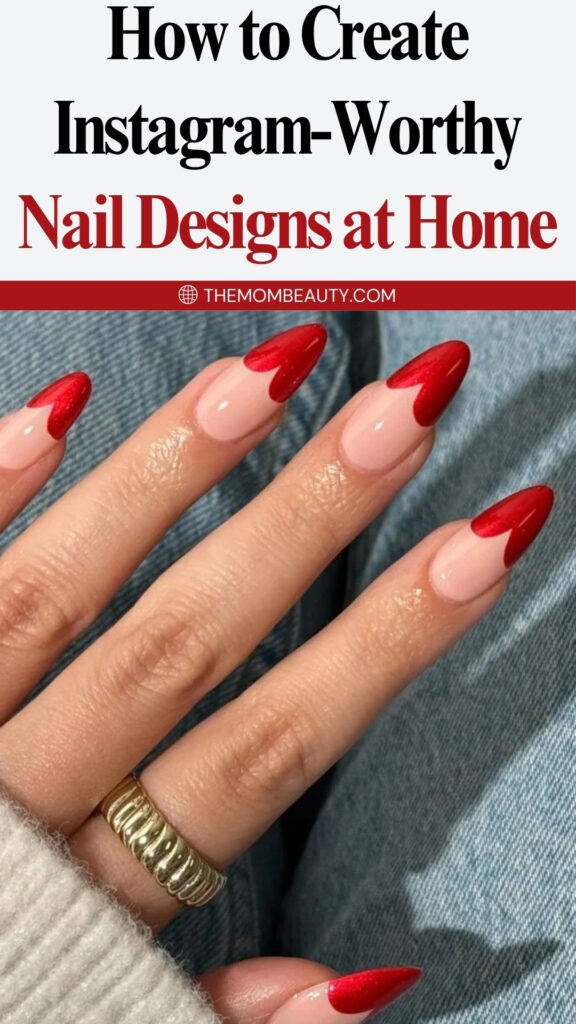
5. Heart Tips with a Toothpick
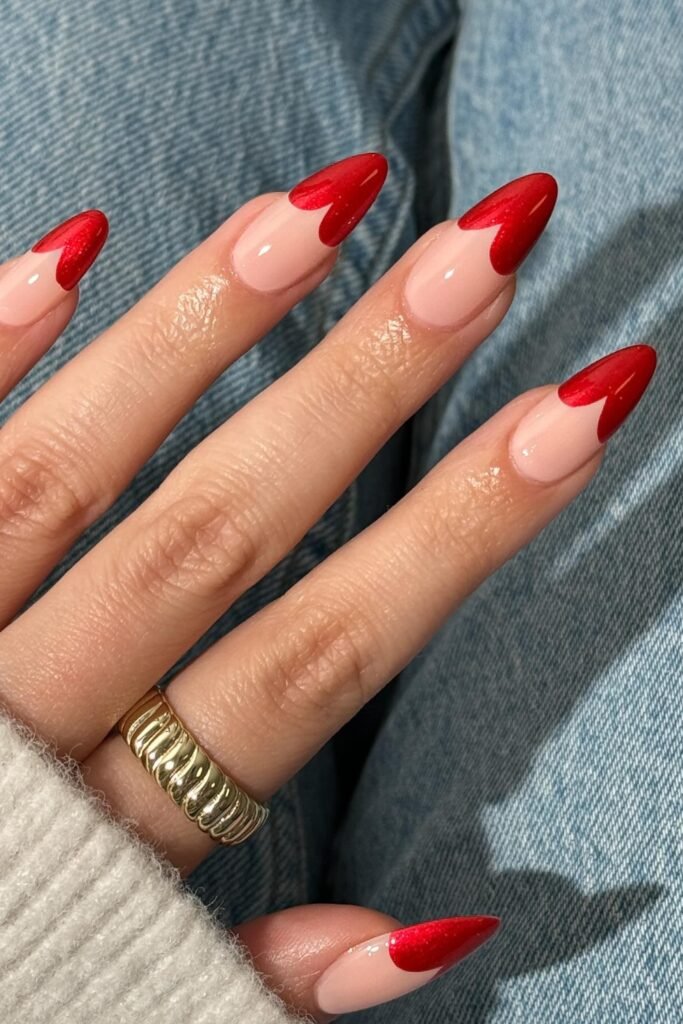
This design is simple, sweet, and perfect if you want something minimal.
You have to take a toothpick and dip the tip into red, pink, or white polish-whichever color you want for your heart.
Here’s the trick: create two small dots close to each other near the tip of your nail.
Then, gently drag each dot down into a point, pulling them together into a V-shape. And just like that, you have a heart.
How to Fix Messed Up Nail Polish?
If you have smudged a nail before it dried, wait a minute or two, then lightly wet your fingertip with remover and gently tap or smooth the polish back into place.
If it is too messy, remove just that nail and repaint it. Sometimes polish gets on your skin and cuticles, so you can’t take your time and go slow. This will instantly make your design look cleaner and more polished.
Uneven dots or shapes? Could you let the polish dry, then go over it again with your tool? Add a second layer to even things out.
If you have bubbles and streaks in the polish, then you should use a thinner coat. This usually happens when you apply too much polish at once.
Related: What’s the Most Popular Nail Design Right Now? We Found It
How to Make Nail Color Last Longer?
After spending time designing your nails, the last thing you want is for them to chip the next day.
The good news is, a few simple habits can help your nail art last much longer-even if you use your hands a lot.
You can always finish with a clear top coat. It protects your design, adds shine, and helps prevent chipping, or reapply it every couple of days for extra protection.
Designs for Kids/ Short Nails
Short nails and kids’ nails are perfect for quick, easy designs that dry fast and do not need too much precision.
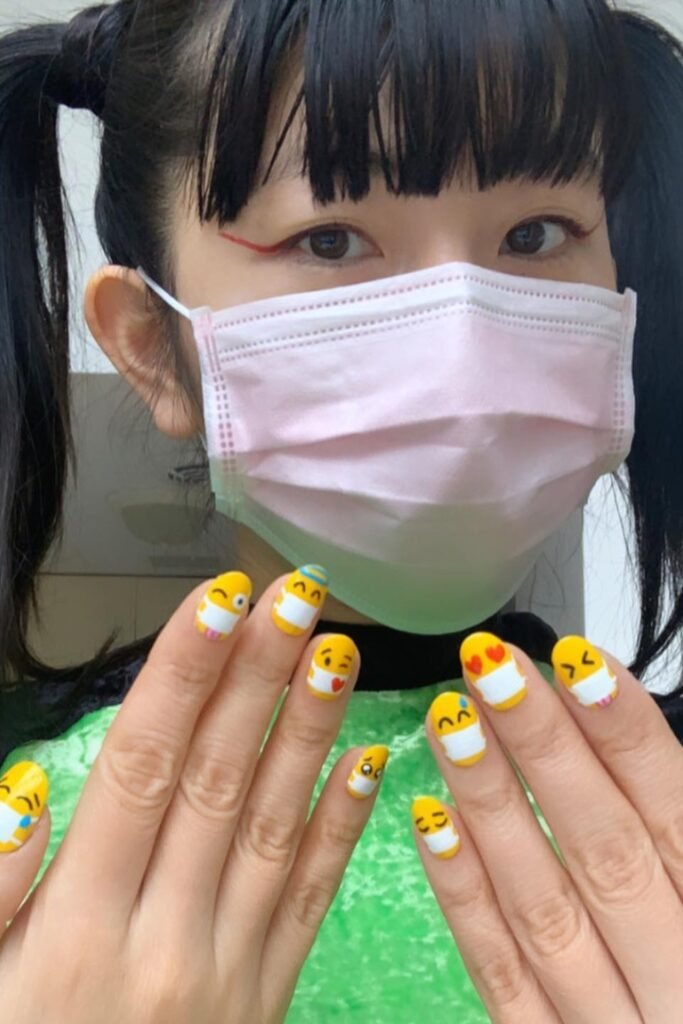
For kids, you can do smiley faces, hearts drawn with a toothpick, bright rainbow tips, nail stickers, and peel-off polish. Always use non-toxic formulas for safety.
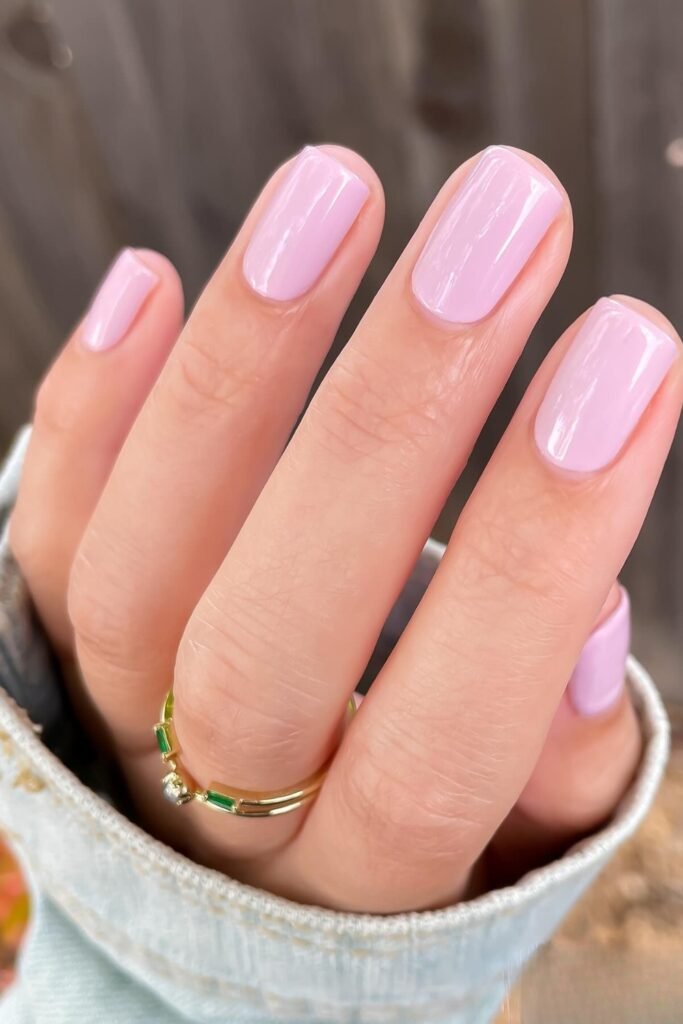
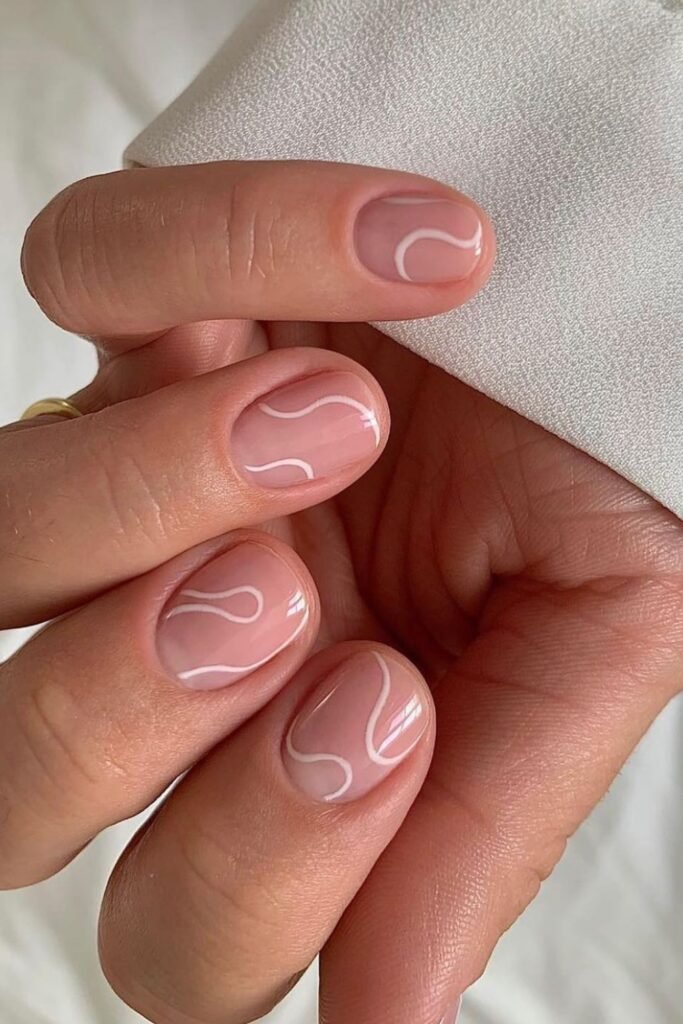
On the other hand, for short nails, you can go with minimalist lines, dots for a clean look, tiny glitter fades starting at the tips, accent nails with a small design on one or two fingers, and light colors like peach, baby blue, and soft pink for a fresh style.
You have to apply thin layers to help the polish dry faster and avoid smudges, especially when working with kids.
The goal is to enjoy the process. Let kids pick their colors or place stickers themselves; it doesn’t need to be perfect.
Conclusion
If your lines are not straight or your dots look uneven, that is completely fine.
This is not about being perfect-it is about having fun and doing something for yourself.
You do not need salon-level skills to enjoy nail art at home.

Hi, I’m Afaf! I’m a law student who loves all things home, style, and gardening. I’ve been writing for over a year about topics like home decor, DIY projects, plants, fashion, and beauty.
I like sharing ideas that are easy to try and don’t cost a fortune. Whether it’s organizing a messy closet, decorating on a budget, or keeping houseplants alive, I write about what I’ve actually tried myself.
When I’m not studying, I’m usually on Pinterest looking for my next project or adding another plant to my collection!
